

Puttying the walls under the wallpaper with your own hands
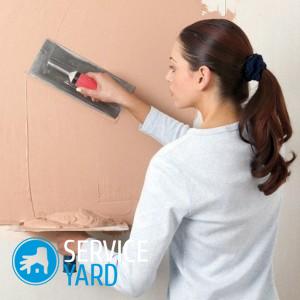
Markets are full of a variety of finishing materials, and wall decoration with wallpaper does not lose its position. Finishing will become meaningless without preparatory work, so in any case, putty is needed. These works must be done for perfect alignment of the walls, so that the finishing material lies for a long time in an even layer. Putting the walls under the wallpaper with your own hands is a simple process, but it requires special attention to even the smallest details, starting from inspecting the walls for wallpaper and ending with the choice of mortar, materials and tools. Today we will analyze this question in detail to help you putty into account, taking into account all stages of work.
to contents ↑The benefits of putty
Let's talk about why it is advisable to putty the walls with your own hands:
- Ease of execution. Everyone will cope with such finishing work, regardless of the presence of certain building skills. Prepare the walls and putty can not only a man, but also a woman.
- Ability to level the surface. Properly selected materials and tools allow you to make the surface of the walls as smooth as possible without expensive plaster. This is the saving of doing the work yourself.
- The possibility of redoing the applied composition. Do not be upset in case of errors when applying the solution. Any error can be corrected with a spatula on a still damp wall.
- Affordable pricing. Construction markets offer a wide range of filler materials at a good cost.
- The minimum expense. Due to the fact that the finished mixture has a thick consistency, the solution will not spread, therefore it will not exceed the limit of putty consumption.
- Possibility of finishing curved parts. With this composition, you can close up not only a flat wall, but also inaccessible places - corners and other uneven parts of the surface. But when applying plaster, you will need a lot of strength and free time to process such non-standard elements.
Types of putty. Compositions and trademarks
Before you putty the walls with your own hands under the wallpaper, you need to familiarize yourself with the varieties of putty mixtures. So, depending on the principle of use, these types of putty are distinguished:
- Universal. This mixture has a large number of positive properties: it is convenient to work with it, it can even out some wall differences by level, it has good adhesion to many types of finishing surfaces.
- Special. It is advisable to use it only when conventional mixtures are powerless - to mask the joints between panels, large wall splits, for urgent repairs. Not suitable as a surface finish for wallpaper.
- Starting or leveling. Such a composition should be applied in a thin layer - up to 2.5 mm. It has a plastic consistency, which is great as an initial putty.
- The finish line. It is applied in a thin layer, which is then rubbed for further finishing work. Finishing putty is not used to level the walls, but only to adjust the surface covered with the starting mortar. In a word, finishing putty is intended for the final preparation of panels for wallpaper or painting.
By degree of readiness
Depending on the degree of readiness of the composition, there are such types of putty:
- Dry. They are relatively inexpensive, do not require special storage conditions. They can be easily prepared on their own, following the step-by-step instructions on product packaging.
- Finished. An order of magnitude more expensive than the first option, easy to apply, it is possible to use individual parts of the mixture, require special storage conditions. If a suitable temperature regime is not observed, they lose many useful properties.
By composition:
- Gypsum.
- Cement
- Polymer.
- Acrylic and latex putties.
Important! They are universal compounds with a high price and excellent quality. Most often, latex mortar is used for internal puttying, in acrylic - for internal and external work.
- Glue.
- Oil-glue.
Important! We do not recommend covering the walls under the wallpaper with an oil-glue composition, since this mixture, after it dries, may appear as yellow spots on the wallpaper. But the oil-glue composition is an ideal tool for preparing brick or concrete surfaces for tiles or painting with oil paint.
Manufacturers
The most famous European and domestic manufacturers of putties, primers and plasters are:
- Joby
- Knauf.
- Atlas.
- Tikkurila.
- Lacrisil.
- Consolite.
- Svyatozar.
- Prospectors
- Ceresit.
Putty the walls under the wallpaper with your own hands step by step
Before starting all work, we need to prepare the necessary materials and tools, without which you would not be able to competently putty the walls.
Materials:
- Two types of composition - starting and finishing putty.
- Primer mixture with antiseptic additives - to prevent the entry of various microorganisms on the surface of the walls.
- Serpyanka tape - for reinforcing joints between plasterboard sheets.
- Repair compound (polymer-based putty or cement-sand mortar). The purpose of these mixtures is the initial sealing of large holes or chips on the wall.
Instruments:
- Rule (long rail) for leveling the first layer of putty and for checking quality (flatness of the surface).
- Electric drill.
- Construction mixer for mixing putty mortar.
- A set of spatulas in different shapes and sizes. You will need a straight even spatula with a width of 50-500 mm, and an angular one - for working with external and internal corners.
- Building level - to control the alignment of the walls.
- Grater - for grouting and smoothing walls. A grater with a replaceable coating will not be superfluous: sandpaper, abrasive mesh, genuine leather and so on.
- Container for mixing the composition of the dry powder and for water. During operation, water will be needed to periodically soak the tools.
- Roller - used to accelerate the application of the first layer of putty, which then must be leveled with a spatula.
- Medium-wide brush - for applying putty in hard-to-reach places (corners, joints, etc.).
Surface preparation
Now we will give some basic recommendations necessary for the implementation of preparatory work for putty:
- Do not apply putty on a “damp” wall with an old coating. That is, wallpaper, emulsion and oil paint must be removed. For example, the wallpaper will quickly and efficiently move away from the surface if you moisten them several times with a wet roller until they get completely wet. Remove enamel or oil paint with a building hair dryer and a metal scraper, a grinder with a brush head.
- Remove the plaster using various tools, the choice of which depends on the thickness of this type of coating. To remove a thin layer, use the softening method, as in the case of wallpaper. As for the thick layer, remove it with a hammer and a chisel or a hammer drill with a chisel attachment.
- After releasing the wall from the old coating, you are guaranteed to find its bumps, small and large cracks and, in some cases, chips. All identified defects must be qualitatively repaired, and the protrusions should be excluded to the state of a flat surface. Close up such flaws is necessary so that after the putty layer has dried, it does not crack along the same ledges and splits of the wall. So you will avoid redoing previously done work.
Repair of walls for putty is carried out in the following sequence:
- Expand deep cracks with the above tools (a chisel and a hammer).
Important! Make the gap as far as possible and deeper so that it can be filled with a repair compound that will not allow a flaw to affect the future putty.
- Now well clean the expanded cracks from dust and the remains of crumbling plaster. Use a small brush or a damp sponge.
- Coat cracks several times over their entire depth with a primer. Treat the entire inner surface of the flaw, and then dry well.
- Fill the wall defects with a pre-prepared repair mortar. For carrying out such work, starting putty or sealant is well suited - the choice of experienced builders.
Important! To close too wide and deep cracks, we recommend using a mounting foam, and after that - close the joints with the above compounds.
- Take a grater with coarse abrasive or coarse-grained paper on a “patched” surface. If you used mounting foam, cut it to the level of the wall surface.
- Glue the mesh-serpentine joints between the drywall sheets, if any, and then apply a layer of starting putty. Do not forget to fill the grooves from the screws with a grid so that the rust does not appear stains on the new wallpaper.
- After all the work done, cover the walls with a primer with an antiseptic effect to increase adhesion between materials and increase the life of the finish.
Important! The primer mixture is applied by roller. Pay special attention to the processing of the corners of the room, since it is in these places that mold and other microorganisms first accumulate.
Solution Preparation Technique
A step-by-step instruction for self-preparation of a solution for puttying walls under a wallpaper with your own hands looks like this:
- Fill the container with a small amount of water.
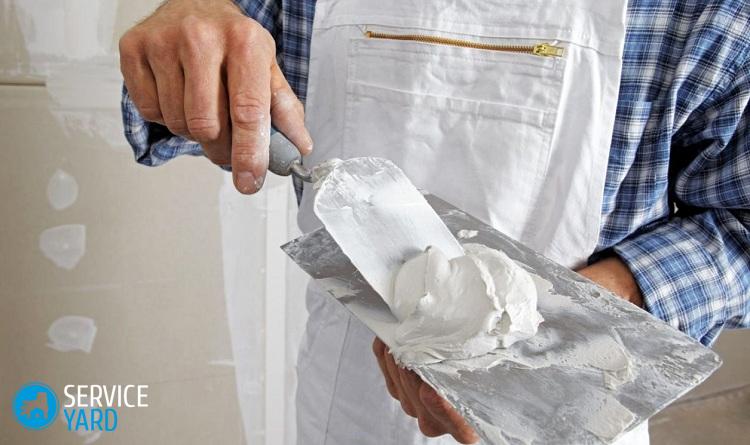
- Add dry putty powder to the water, pouring it gradually in small portions.
- Mix the composition with a spatula.
- Finally, beat the solution with a construction mixer or drill with a nozzle to obtain a homogeneous mass.
- We determine the readiness of putty on the resulting consistency. Ideally, you should get an elastic mixture that sticks a little to the tool. If a liquid solution is obtained, then to obtain the desired consistency, add still dry mixture to the container
Important! The presence of lumps in the finished solution indicates a very dry mixture, to which water should be added, mix well to get a homogeneous mass.
Application Instructions:
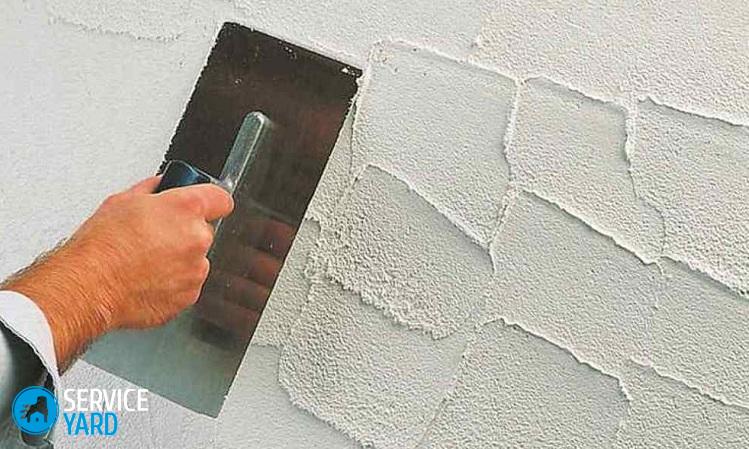
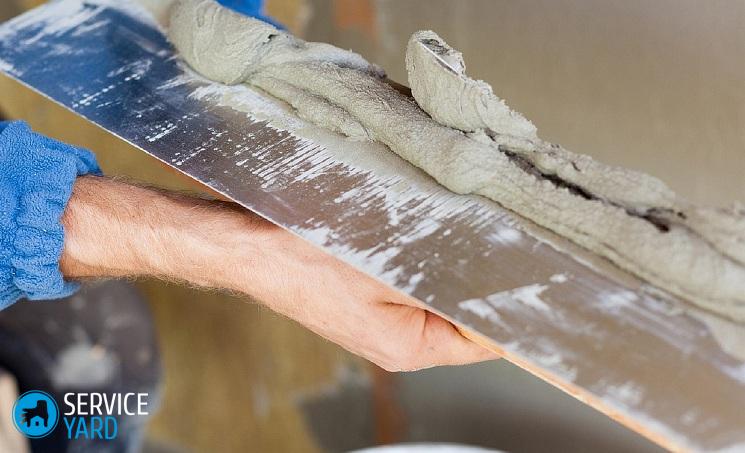
- Type a putty with a small spatula, smooth it on the tool, and then apply the mixture with a layer of 2 mm to a 20 cm area, evenly distributing it over the entire surface of the wall.
Important! Hold the spatula at an angle of 40 degrees.
- Apply the solution diagonally with a single motion of the hand, and apply each subsequent coat with an overlap.
- Hide the resulting marks from the spatula with finishing putty. We give drying time - 24 hours.
- Walk the trowel with an angular type along the internal and external corners of the wall surface. Leave the solution to dry for 12 hours.
- Sand the walls with sandpaper.
Stock footage
We hope that after our instructions and recommendations you will do everything right! Now you know how to putty the walls with your own hands under the wallpaper. May your efforts not be in vain, and the work done will please you for decades!
- How to choose a vacuum cleaner taking into account the characteristics of the house and coatings?
- What to look for when choosing a water delivery
- How to quickly create comfort at home - tips for housewives
- How to choose the perfect TV - useful tips
- What to look for when choosing blinds
- What should be running shoes?
- What useful things can you buy in a hardware store
- Iphone 11 pro max review
- Than iPhone is better than Android smartphones
 (No ratings yet)