

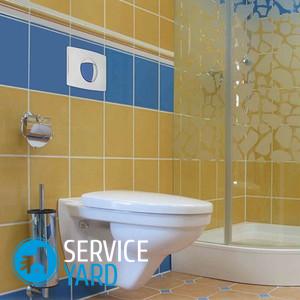
Built-in toilet with installation
Until recently, people did not really pay attention to the design of the bathroom. Much more important points were convenience, practicality and, of course, that the plumbing was in good working order. Over time, the requirements for bathrooms and their design have increased. Individual plumbing items are real works of art. The method of installing plumbing equipment has also changed. For example, it is difficult to surprise someone with such a “miracle of technology” as an integrated toilet. Many prefer this method of installing plumbing. Let us consider in more detail what a built-in toilet bowl with installation is, its pros and cons.
to contents ↑The advantages of built-in plumbing
Before giving preference to one or another version of the installation of plumbing, carefully study the advantages and disadvantages of each. So, the positive features of embedded sanitary ware are as follows:
- Ideal for fans of the style of Minimalism.
- Simplified plumbing care, as there will be no hard-to-reach spots. Neither a classic plumbing installation, nor wall hung toilets have this advantage.
- The possibility of arranging a warm floor in the bathroom. This is especially true for combined bathrooms, where the bathroom requires underfloor heating.
- The possibility of tiling the floor without violating the integrity of the picture.
- Aesthetics. All communications are hidden behind the wall. This approach, moreover, provides additional sound insulation.
Important! As for access to communications in case of repair, it is not particularly difficult. Access to the necessary nodes is carried out using special hatches.
Maybe this is not a complete list of benefits, but they are quite enough for people to focus on this particular method of installing the toilet.
to contents ↑Wall-mounted toilet: disadvantages
Speaking about the advantages, it is impossible not to mention that the built-in toilet with installation has its negative sides:
- Installation is not particularly difficult, but the cost is much more than for the usual mounting of the toilet on the floor.
- The installation of the toilet involves not only the purchase of the plumbing itself, but also the purchase of a far from cheap installation system.
- The method may not be suitable for an old house with worn pipes.
to contents ↑Important! Old pipes may simply not withstand the load. All this is fraught with additional repairs, which, as they say, will fly a pretty penny.
Mounting Features
Installations allow you to install plumbing anywhere in the bathroom. Of course, it is necessary to take into account the location of the toilet relative to the sewer system.
Important! If you are lucky with a specialist, this problem will be solved without much difficulty.
Fixation methods
The toilet, built into the wall, is mounted with two installation options:
- Standard. A metal frame and mounts with supports are used. There are also installations to solve the issue of angular placement of plumbing.
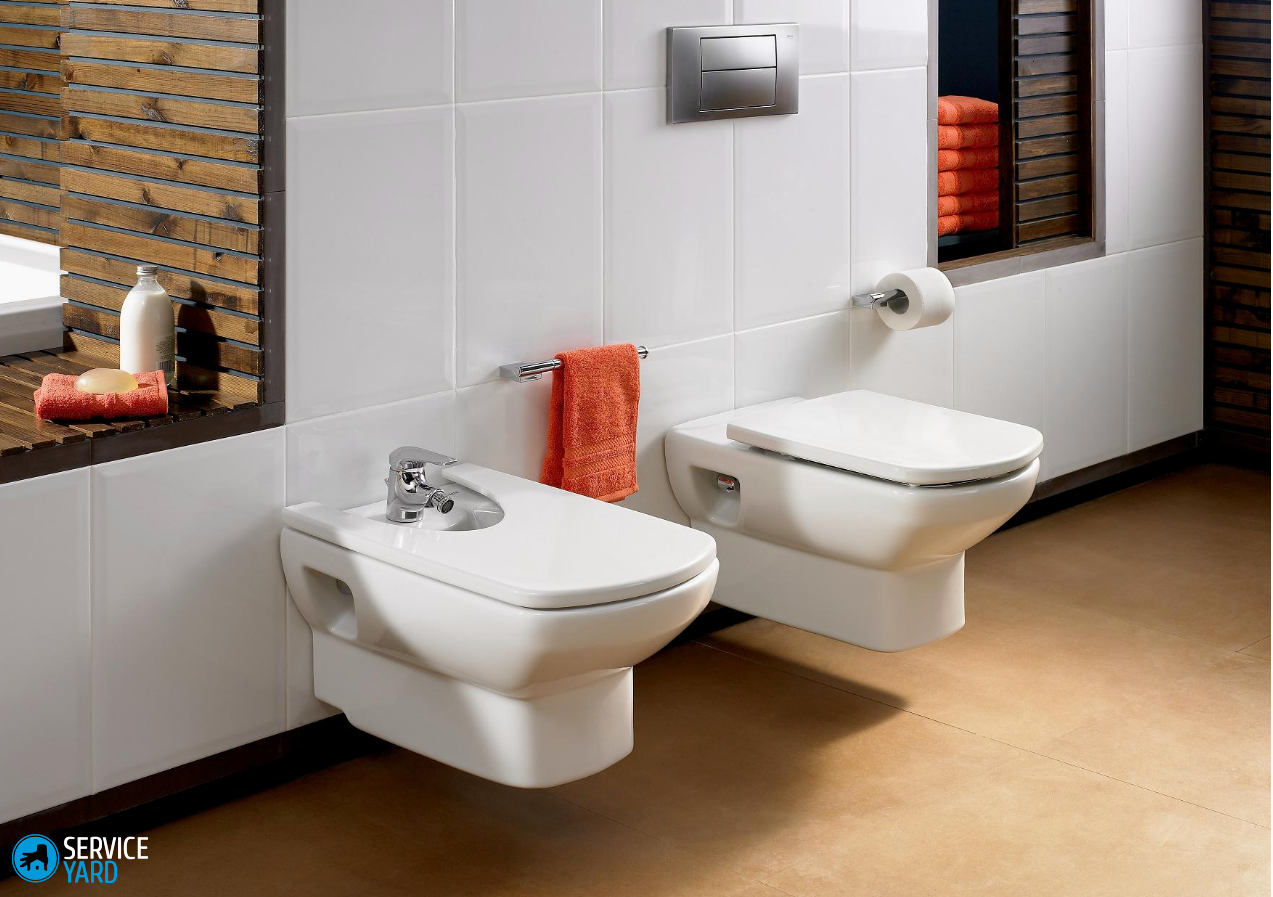
- The rail installation of the built-in toilet allows you to combine several items of plumbing into one design (urinal, washbasin, bidet).
The built-in toilet bowl, as a rule, resembles a canister in shape. The most common manufacturing material is durable plastic.An additional heat jacket prevents condensation.
 In fact, the button for releasing water remains visible.
Important! Many fear that in the event of breakdowns, access to the "internal" system will be difficult. However, the performance of work in accordance with all the rules will allow you not to fear damage.
The algorithm of work:
- At the first stage, the reliability and strength of the floor, walls, pipes, communications are checked. If the sewage system is worn out, it is first put in order. If the communications are in perfect condition, there is no fear that you will have to disassemble the built-in structure for repair.
- Installation installation, fixing it on the floor, mounting studs for installing the toilet.
- Masking the installation with drywall and other cladding materials. The advantage of drywall is that it is remarkably fastened with a facing tile, which is most often used for finishing bathrooms.
- Mounting plumbing on studs.
- Insulation of studs with washers with soundproofing effect.
- Finishing the structure with ceramic tiles and other decorative materials.
A few more features of the toilet, built into the wall:
- Tanks that are used for built-in toilets have an economical use of water. If in an ordinary tank, about 9 liters of water are consumed per flush, then for the built-in design this figure is half as much. The flushing efficiency does not suffer at all. If a water meter is installed in the house or apartment, then there is a saving.
- Embedded plumbing manufacturers take into account the fact that access to communications will be limited. Therefore, all products are of high quality and, as practice shows, trouble-free operation.
to contents ↑Important! According to official studies, built-in toilets with installation are the most reliable and durable. Even if individual elements of the system fail, they can be easily replaced using special hatches.
Built-in toilet without installation
This is a more economical option. In this case, the plumbing is fixed to the wall, and the coupling for the drain of water together with the tank is hidden in a concrete base. The concrete base also supports the bottom of the toilet.
Important! In terms of strength and reliability, this option is not inferior to installation with installation, but much cheaper.
To equip the toilet you will need:
- 2 hairpins 90-80 mm long with a diameter of 20 mm.
- 4 washers and nuts on 20 mm.
- Concrete mix - 40-50 l.
- Formwork.
Instruments:
- Drill.
- Construction level.
- Capacity for concrete.
- Roulette.
The algorithm for mounting the toilet, built into the wall, is as follows:
- Sewerage preparation. Mounting the drain coupling. If necessary, you can shorten, or - on the contrary, increase it.
- Marking of holes on the wall based on the height of the toilet bowl over the floor is 400-450 mm.
- Drilling through the wall. Mounting and fastening with stud nuts.
- Installation of formwork from a central panel with holes and two side panels. Control of the correct installation of formwork is carried out using a building level.
- Pouring concrete. This leaves a groove for the tank. The concrete mixture consists of cement, sand, gravel and water, with a ratio of 1: 2: 3: 0.7. The duration of concrete hardening is 7 days.
- The withdrawal of the toilet under the drain, sealing with silicone sealant.
- Installation of the toilet, tank connection.
Stock footage
Installation of built-in plumbing is desirable to entrust to professionals. However, if you have the skills and knowledge in the field of construction, you can perform these works yourself. We hope that the information from this article, clarifying all the features of built-in toilets with installation, helped you understand all the nuances of plumbing and make the right decision.
- How to choose a vacuum cleaner taking into account the characteristics of the house and coatings?
- What to look for when choosing a water delivery
- How to quickly create comfort at home - tips for housewives
- How to choose the perfect TV - useful tips
- What to look for when choosing blinds
- What should be running shoes?
- What useful things can you buy in a hardware store
- Iphone 11 pro max review
- Than iPhone is better than Android smartphones
 (No ratings yet)