

How to assemble a toilet bowl?

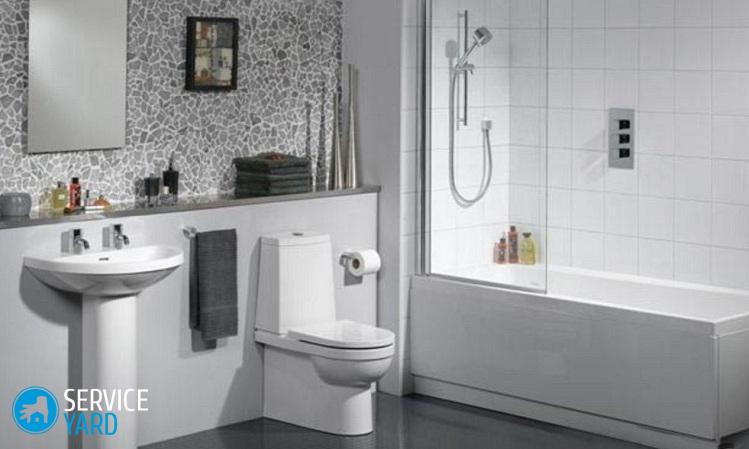
The toilet is one of the most important elements of the bathroom. It turns out that you can mount and connect this device yourself. Moreover, without much difficulty. How to assemble a toilet bowl and connect plumbing to communications - this will be discussed in the article.
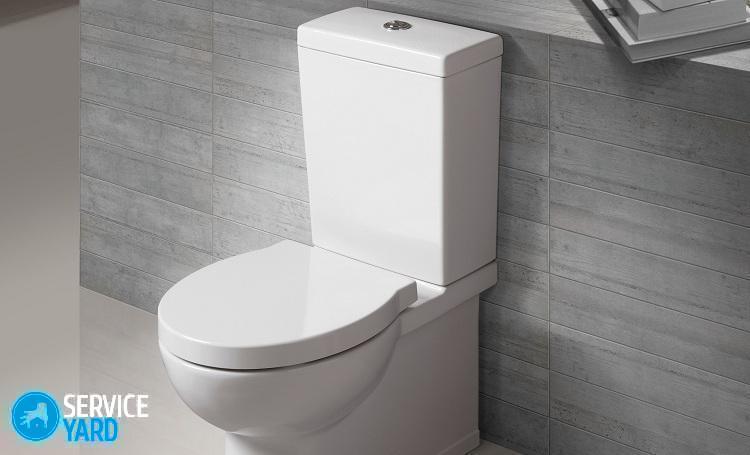
The modern design includes 2 parts: a floor bowl and a drain tank. The tank for draining water is sold disassembled, therefore, before installing the structure, it must first be assembled.
Build Algorithm
First of all, carefully unpack all the parts included in the kit, and read the instructions for installing them to properly assemble the toilet bowl of your model.
The tank includes such components:
- Filling fittings - designed to automatically fill the tank after rinsing.
- Drain valves. With its help, water is drained from the tank to the floor bowl.
- Flushing tank. This is a tank filled with tap water. When flushing, water from the tank goes into the bowl of the device.
- Overflow device - removes water from the tank into the bowl if the filling fixture is out of order.
Fill the tank with a drain mechanism
Work begins with the installation of a drain mechanism in the tank. It is sold complete, therefore, no additional efforts are required during installation:
- Insert the mechanism into the hole in the bottom of the drain tank.
- At the same time, in order to avoid leaks, it is necessary to use a gasket made of rubber, which is installed inside the tank.
- The drain mechanism is fixed by means of a special nut. Tighten the nut by hand or using a special plastic wrench.
Important! Follow all steps with extreme care so as not to damage the plastic.
We put the tank on the toilet
The tank itself is mounted on the toilet with metal studs. If the product is not equipped with metal studs, but with plastic bolts, it is better to replace the plastic with metal in advance.
Important! Plastic mounts are fragile and quickly fail. Place a gasket and washer on each stud, then insert the fasteners into the holes specially designed for this purpose.
The nut that holds the drain mechanism is closed with a rubber seal.
Now you can install the drain tank on the toilet:
- Put the nuts on the studs and begin to tighten them alternately, with great care.
- Continue to tighten until the tank is firmly mounted on the bowl.
Float installation
The very last moment is the installation of the float:
- Put a sealant on its thread and insert it into the drain tank opening from the inside.
- Outside, grip the float with a plastic nut.
- First tighten it by hand, and then slightly tighten using the key.
Toilet installation
After the toilet is assembled, you can begin to install it in place. The most common technique is the use of special fasteners that come with the product.
The procedure in this case is as follows:
- Mark up. Place the toilet in the planned location, level the structure. Carefully circle the base of the product with a marker. Mark the points where the mount will be installed. Set the plumbing aside.
- Prepare mounting holes. Drill holes of the required diameter with a hammer drill, insert plastic plugs into them.
- Replace the plumbing.Prepare the mounts, not forgetting the washers and inserts. Tighten the fasteners, locking the device in place.
The toilet has been installed. It remains to connect it to utilities.
to contents ↑How to connect a toilet bowl and a tank to communications?
You can connect the tank to the water supply in two ways: by placing the connection in the upper or lower part of the tank.
Important! The second option is preferable, because the water is drawn into the tank almost silently.
It is desirable that the exits of the tank and the water supply are on the one hand, since it is much more convenient to connect the device. Of course, if the outlets of the water supply system and the tank are on different sides, this will not affect the operation of the device. It's all about ease of installation and aesthetics of the design.
Tank connection to the water supply
For this, as a rule, flexible hoses with nuts are used. For sealing use tape FUM or gaskets made of rubber.
Important! At the same time, it is advisable to install a shut-off valve, which allows, if necessary, to repair water shut off locally. At the same time, all other water intake points will function normally.
How to connect the toilet to the sewer system?
If you install new plumbing instead of old, it is advisable to choose equipment with the same type of connection. Depending on the location of the drain pipe, these types of toilets are distinguished:
- With horizontal outlet (drain pipe is parallel to the floor plane).
- With a vertical outlet (the direction of the drain pipe is perpendicular to the floor).
- With an oblique outlet (a drain pipe forms an angle of 30-40 degrees with the floor plane).
Toilet Build: Vertical Outlet
The nozzle and siphon of the toilet bowl are located vertically down. Such designs are popular in Western Europe.
Important! Their main advantage is that installation at any angle to the wall is possible.
The installation procedure is quite simple:
- After marking is completed, mount a standard screw flange with a clamp.
- Fit the sewer pipe into the hole located in the central part of the flange.
- Place the toilet on the flange, turning it until it locks into place.
Horizontal release
Such plumbing is still the most popular in post-Soviet countries. The connection of the toilet and sewer outlet is made with a special sealing cuff.
Oblique release
The procedure for connecting the toilet is as follows:
- Lubricate the release of plumbing with a mixture of drying oil and minium.
- Wrap the resin seal, not bringing 5 mm to the outlet pipe - this will make it possible to avoid blockages.
- Lubricate the wound strand with the red wine.
- Mount the toilet and fix the outlet in the sewer.
How to assemble a toilet lid?
The seat with a hinged lid must be selected so that it is not only convenient to operate, but also fits into the interior of the bathroom. There are a large number of offers on the market for these products. The seat and cover materials may be:
- Plastic. The most popular and common option. Plastic is easy to maintain and install, neutral in relation to household chemicals.
Important! Its disadvantage is that it is not durable, prone to scratches and chips.
- Duroplast - differs from ordinary plastic in durability and antibacterial effect. Outwardly and in terms of performance, it resembles ceramics.
- Plywood. This is not even yesterday, but the day before yesterday. Products do not differ in either attractive appearance or ease of use.
- Wood. It has an attractive appearance and practicality.
Important! The disadvantage is the large mass, which can ultimately lead to damage to the toilet bowl.
The lid is fixed on the toilet with bolts or studs. Connecting nuts are screwed from below. At first, tightening the connection loosely, they ensure that the seat is positioned correctly and that the lid opens freely without falling.
to contents ↑Stock footage
As you can see, the assembly of the toilet is not particularly difficult. However, if you feel that you cannot handle it, invite a specialist.
- How to choose a vacuum cleaner taking into account the characteristics of the house and coatings?
- What to look for when choosing a water delivery
- How to quickly create comfort at home - tips for housewives
- How to choose the perfect TV - useful tips
- What to look for when choosing blinds
- What should be running shoes?
- What useful things can you buy in a hardware store
- Iphone 11 pro max review
- Than iPhone is better than Android smartphones
 (No ratings yet)