

How to attach the toilet lid mount?
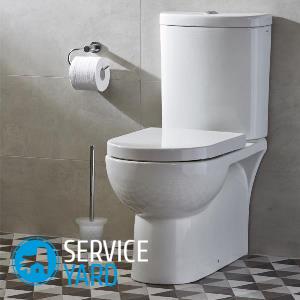
After the toilet bowl is mounted, and the tank is securely attached to its bowl, it turns out that we need to do one more job - fixing the toilet lid. As a rule, the seat and all the necessary accessories for it come complete with a toilet. But if this is not the case, then you need to purchase them separately. It is only important to choose the right kit. There are many models of toilets, there are a lot of “toilet seats” options, so it’s not long to make a mistake.
to contents ↑How to choose the right seat?
- The most win-win option is to outline the toilet rim on paper, and then measure the distance between the fastener holes. Then in the store, having in your hands the result of measurement and an impromptu sketch, you can make an unmistakable choice.
- Take a picture of the toilet on your cell phone. Show the received picture to the sales assistant and he will choose the right seat for you.
to contents ↑Important! An important point is the width of the toilet rim. If you buy too narrow a seat, then this will not just be an unnecessary inconvenience. The rim of the toilet will be constantly dirty.
How to remove a toilet seat?
Dismantling the seat, as a rule, is carried out without any problems. However, sometimes you have to tinker. It all depends on what kind of mount you used:
- Bolts made of plastic. Usually there are no problems with them; they are easily untwisted. If there are difficulties with unwinding, it is enough to heat a sharp knife red-hot and cut off the bolt.
Important! If a little molten plastic at the same time gets on the faience of the toilet, then it's okay - you can easily remove it when it hardens.
- Brass mounts also unwind without much difficulty. If the bolt is still jammed, a couple or three drops of kerosene are enough for the brass fixture to be removed quickly and with a minimum of effort.
- Steel. Here they have to bother with the most. Strictly speaking, steel fasteners are undesirable to use in the bathroom or bath. They quickly rust from high humidity. When trying to dismantle them, problems may arise.
Let's consider in more detail how to remove a toilet seat with a rusted fastener.
Penetrating grease for loosening rust bolts
To get started, buy a special penetrating lubricant at a hardware store. The principle of the lubricant is that when it is applied to a metal part, the rust will crack. Grease the bolts with grease and wrap them with a soft cloth. 15 minutes is enough to peel off the rust. Now it remains only to unscrew the intractable bolt with a socket wrench.
Electric drill
It also happens that rust is so simple that penetrating lubricant is not enough. In this case, an electric drill and drills of various sizes come to the rescue:
- Using a ¼-inch drill, drill the circumference of the nut where it is mating with the bolt. In this case, be careful not to touch the body of the toilet.
- Replace the drill with 1/16 inch and continue drilling. Now the time has come to work with a socket wrench. Your task is not to unscrew the mount, but to loosen it. Gradually you will achieve yours.
A good lesson for the home master! Try never again to get in touch with steel toilet mounts.
to contents ↑How to fix the seat and cover?
We continue to move on. When choosing a mounting method, the shape of the toilet plays an important role, or rather, its shelves:
- Waybill.
- Solid cast.
Important! Toilets with false shelves (they are called “eared”) are more complex in terms of attaching a “toilet seat”. If only because the toilet lid is mounted in the same holes as the tank for draining water. To do this, you will need special clamps made of polyethylene.
Here are some tips to help you install an old-style toilet seat:
- Use brass or plastic mounts only.
- If you use brass fasteners, do not forget to install plastic washers under them. Otherwise, there will be a big risk that the toilet will break when the bolts are tightened.
- To install the lid on the toilet, do not use steel bolts. They quickly rust, and unscrewing them will be problematic.
Important! Be very careful: during disassembly of the seat, the shelf may shift. As a result, a rubber cuff will let water through. Light a flashlight under the toilet bowl and evaluate the condition of the rubber cuff. If it is worn, you will have to replace it.
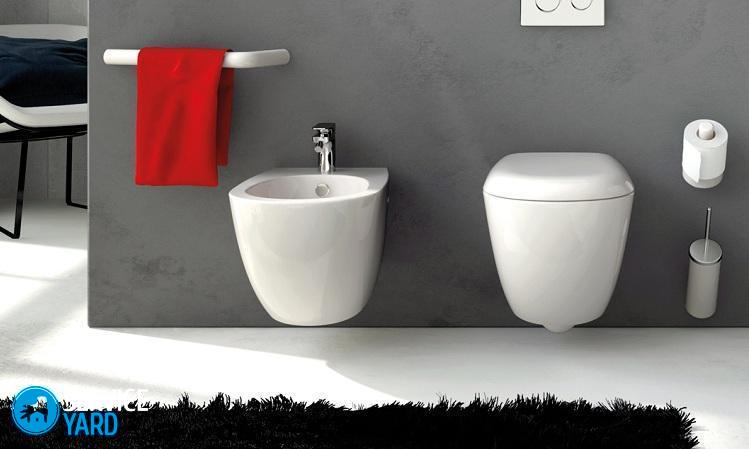
As for the toilets with a one-piece shelf, everything is quite simple here: they have special holes where the mount is inserted. The question of how to install a toilet seat is completely simple here.
to contents ↑If the mount is broken
The causes of such breakdowns are different: someone kicked into the seat, or dropped a heavy object, or opened the lid too abruptly. It turns out that you can fix minor malfunctions yourself, without spending money on a new kit:
- To fix a crack on the plastic, just apply a little acetone on it. Acetone dissolves many varieties of plastic. Then connect the parts to break and wait until the mass hardens again.
Important! About the same principle, you can use dichloroethane.
- Cracked parts made of polyethylene or propylene can be repaired using high temperature. Slightly melt the edges of the part and connect them. After you carefully grind the seam, it will become almost invisible.
“Eared” toilets have one problem: either the ear of the shelf or the shelf itself breaks. The reason for this, most often, is that the tank is not properly fixed. But this trouble is fixable:
- Clean the cracked surface from litter.
- Wipe and dry it thoroughly (you can use a hairdryer for this).
- Using gasoline or acetone, degrease the surface.
- Mix the epoxy resin with hardener in a clean vessel.
- Lubricate the chips with epoxy on both sides, press them against each other. Do not forget to remove excess epoxy.
- After the epoxy hardens, reinstall the shelf, the drain tank and the seat, attach the lid to the toilet.
Stock footage
We hope that the article will help you deal with such a simple matter as installing a toilet seat, and now you can visit the closet with comfort and convenience as needed!
- How to choose a vacuum cleaner taking into account the characteristics of the house and coatings?
- What to look for when choosing a water delivery
- How to quickly create comfort at home - tips for housewives
- How to choose the perfect TV - useful tips
- What to look for when choosing blinds
- What should be running shoes?
- What useful things can you buy in a hardware store
- Iphone 11 pro max review
- Than iPhone is better than Android smartphones
 (No ratings yet)