

How to lay a laminate?

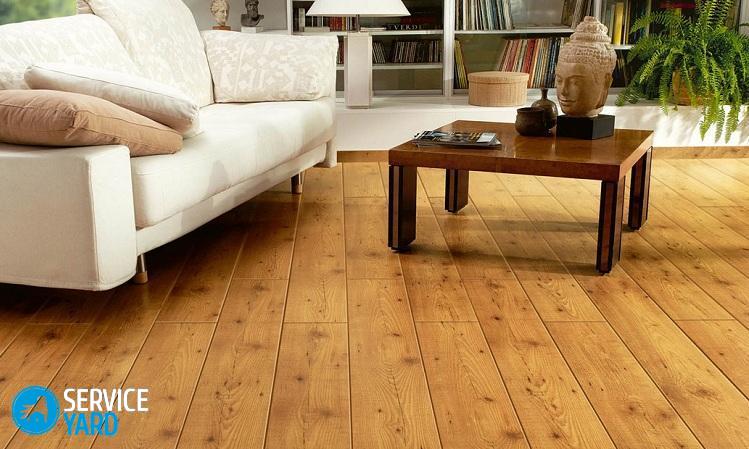
Despite the rich selection of flooring on the construction market, many owners prefer popular wood flooring. And this is understandable: recently appeared laminated panels quickly became a favorite among users, thanks to their excellent performance and reasonably thought-out assembly technology. Many owners quickly mastered all the intricacies of installing a laminate and, having figured out the installation diagrams, they know exactly how to properly lay a laminate, so they do not use the services of masters. Believe me, this is not difficult to do if you know the conditions and subtleties of working with laminated panels. Today we will tell you how to lay a laminate with your own hands so that the result does not disappoint you.
to contents ↑Prerequisites for laying laminated panels
Laminate is a modern floor covering, which could combine the best qualities of parquet, the simplicity of laying “floating” floors and excellent performance.
The main advantages of the laminate over other coatings are:
- Attractive appearance.
- Quick installation.
- Affordable price.
- Excellent compatibility with any room furniture.
- Easy care.
Popular coverage is becoming more popular every day. It is used not only in residential premises, but also in offices. To properly lay the laminate, the masters in the services undergo a training course where they get acquainted with the conditions of the installation technology proposed by the developers and manufacturers. Sometimes errors arising from ignorance of the features of laminated panels can lead to poor results. Therefore, we first consider what conditions must be created for high-quality laying of the coating.
In order for the laminate to last as long as possible, create the right conditions for its installation:
- Laminate is mounted only at a constant temperature in the room 15-25 degrees
- Permissible humidity of the room is 45-70%.
- The base of the floor should be perfectly flat.
to contents ↑Important! It is unacceptable to work with laminated panels in cold, unheated rooms, at temperature extremes and in very dry air.
Laminate restrictions
Manufacturers strictly envisage a number of restrictions on the use of laminated panels. According to the instructions of the developers, the laminate can not be laid:
- On the concrete floor in a sanitary room with high humidity (bath, toilet, steam room, bath).
- Directly to the wooden floor.
- Over the carpet.
- On cable floor heating systems.
- On electric heating mats.
Laminated panels are designed for use in comfortable residential and office premises.
to contents ↑Laminate Laying Options
You can lay a laminate with your own hands in a variety of ways. The choice of installation option depends on the interior of the room.
Important! With any type of installation, the panels must be placed along the direction of incidence of natural light.
The following types of coating are distinguished:
- Classic styling. The most economical and common option for installing a laminate. The material is stacked from the window in the direction of light.
Important! Waste with this type of installation is less than 5%. The remaining pieces of panels lay at the end of the row.
- Diagonal. If you want to artificially change the proportions of the room, then use the diagonal styling option. It is no different from the classic, only the panels are laid at an angle of 45 degrees.
Important! The diagonal arrangement creates the best effect when the door is angled. The disadvantage of this method is the high consumption of material. Material waste is about 15%.
- Transverse. If the length of the side walls is not more than 8 m, we recommend choosing the direction of laying the panels perpendicular to the plane of the window.
- Brick. This installation option resembles brickwork. Each row of panels is half offset from the previous one. It is with brick (chess) laying that the maximum coating strength is achieved.
to contents ↑Important! The disadvantage of the brick option is a higher consumption of material (by 15-20%).
The basic rules for laying laminate flooring:
- Get material with a margin of 5-10%. If you plan to lay the cover diagonally, then the margin should be 15%, staggered - 20%.
- Leave panels from the store for 2-3 days to adapt to room humidity.
- The base for the coating should be flat. The difference in floor level should not exceed 2 mm per 1 square. m. Determine the evenness of the surface is necessary using the building level.
Important! Since different manufacturers of the material allow different differences in the base, then follow the instructions and those indicators that are indicated on the package.
- When laying the coating, it is imperative to leave a gap between the panels and walls to compensate for thermal expansions.
- Do not use pieces of material shorter than 30 cm and already 5 cm.
- The concrete base under the laminate needs waterproofing.
- Under the laminate, in most cases it is necessary to lay the substrate.
to contents ↑Important! Ideal bases for laying the coating are:
- Wooden floor.
- Smooth concrete screed.
- Floor Tiles.
The necessary set of tools for installing a laminate
Laminate is a prepared special thin layers, the basis for which is a tree. The main operations in the installation process of the coating are: cutting the material and fitting the panels to each other. Therefore, to carry out these works you will need:
- Roulette.
- Long wide ruler.
- Building square.
- Pencil with soft stylus.
- Tool for sawing panels (jigsaw, hacksaw, special machine).
Important! Do not use the saw on wood, as it will not be able to provide an accurate cut.
- Wooden or rubber mallet for tight fitting of panels with a tongue-and-groove connection.
- Laying (wooden block or laminate trim). Tap the panels through the gasket for fitting.
- Drill with a nozzle-crown for drilling holes for risers and pipes.
- Special glue (for gluing). Rags to remove excess glue.
- Wedges for clearances.
- Clamp (for laminate with locks).
Advice:
- For maximum convenience, purchase a special set consisting of expansion wedges, staples (for laying the last row), padding for tamping.
- Spacer wedges can be made independently from improvised materials and wooden scraps. Set wedges around the perimeter of the room in 25 cm increments.
Important! The thickness of the wedges, which determines the width of the compensation gap, depends on the area of the room. For example:
- For an area of less than 12 square meters, a clearance of 8-10 mm is sufficient.
- If the room is larger, then you can increase it to 15 mm.
In any case, the clearance should not exceed 20 mm.
to contents ↑Laminate Laying Technology
The entire installation process can be divided into stages:
- Preparatory.
- Mounting the substrate.
- Laying laminate flooring.
Before you lay the laminate with your own hands, you will have to work no less to prepare the foundation for the coating.Next, we will dwell in detail at each stage.
Preparatory stage
First of all, you need to check the level of flatness of the floor. If the base needs alignment, then there are several ways out of the situation:
- Use a self-leveling screed or refill the floor with concrete. In this case, a significant amount of time and effort will be expended.
- Use a floor grinder. This option is considered optimal. With minor losses, you can achieve maximum results.
Important! You do not need to buy a car, you can rent it from any construction and repair company.
- Chipboard laying. This option is cheap, but rather inconvenient and impractical. This method is used in cases where there is no other choice and time is running out. If you decide to use chipboard, then choose the maximum thickness and average density.
Important! Do not use material with a high density, as over time you will hear crackling under your feet.
- If you lay the coating on a wooden floor, make sure that the wood is not infected with fungus, mold, putrid microorganisms and pests. Examine the floor carefully so that no floorboard bends under your feet. Fasten creaky and staggered floorboards to the logs with self-tapping screws and scrape to eliminate roughness and unevenness of the wood.
Important! When preparing the base, it is necessary to observe the moisture restriction that manufacturers put forward: for a wooden base - 8%, for concrete - 2%, for anhydride - 0.5%.
If there is no way to determine the percentage of moisture using the device, then use the old folk method: cover the base with plastic wrap overnight. If condensation accumulates on the back of the film in the morning, the base has not dried up yet and you should wait a while with laying the coating.
Installation of waterproofing and substrate
After the base is prepared and the laminate has been in the room for 2-3 days, you can start the basic work. First of all, it is necessary to lay a waterproofing layer.
Important! Use plastic wrap as insulation. The film thickness should be at least 0.2 mm.
For proper waterproofing, adhere to our recommendations and proceed as follows:
- Place the film perpendicular to the coating to be lined.
- Overlap the film with a margin of at least 20 cm so that moisture has no chance.
- Fix the joints of the parts of the film with tape.
- To prevent the waterproofing from moving during operation, fasten it with a stapler at the four corners. If there is no stapler, then use tape and fix the film around the perimeter.
- Lay a backing on top of the plastic film. It absorbs shock and static loads. The substrate provides high sound insulation and effectively saves heat. The thickness of the substrate should be proportional to the thickness of the laminate, usually 3 mm is sufficient. The backing is laid with a slight approach to the walls. Cut off excess material.
Important! We recommend using natural materials for the substrate:
- Felt.
- Plates made of natural materials.
- Corrugated cardboard.
- Cork mat.
You can do without a substrate if it is integrated into the laminate structure or if a dry screed made of sheet materials was made over the base.
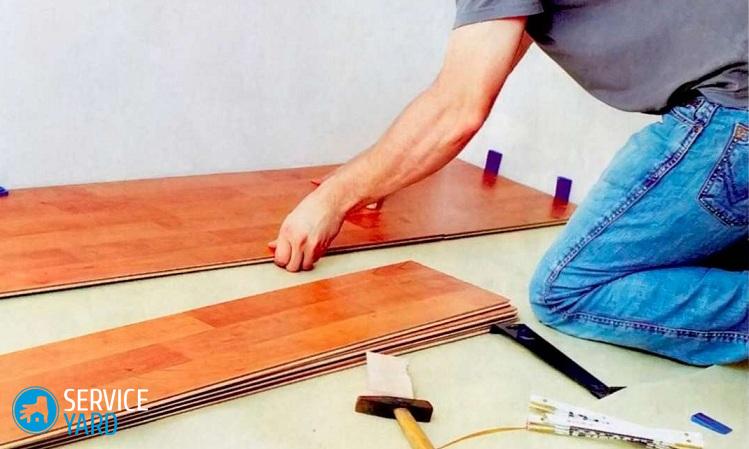
Laminate flooring
After a long preparatory process, the laying of laminated panels begins. The technology of work is quite simple: the boards are interconnected on all sides by the so-called “comb”, that is, the groove of one lamella is inserted into the groove of the other, and then they are tightly joined with a hammer.
Follow the process as follows so that you can accurately and correctly lay the laminate with your own hands:
- Determine the direction of the main light in the room.
- Expand the panels parallel to the light beams.
- Start work from the farthest corner of the room.In the places where the laminate contacts the wall, install wedges (10 mm thick).
Important! Wedges are not removed immediately, but only after laying several strips of laminate.
- Put the end of the board into the wall.
- Lay the boards along the entire wall as follows: attach a bar to the end of the board from the end side (over the ridge). Match the lamellas to each other with a light tapping of a wooden hammer.
- At the end, press the board into the wall and cut the bar to the required size. The first strip of floor is ready.
- Press the first strip against the wall as tightly as possible.
- In a similar way all rows are assembled and connected. The main thing - do not forget about the wedges between the walls and the extreme laminate panels.
- Bypassing the pipes, cut the passages with a jigsaw in the panels.
- After finishing laying the laminate, assemble the wedges and cut the backing peeking out from under the panels.
- Install and secure the skirting boards and sills.
Advice:
- If the room has a door that opens inward, and you do not want to remove it from the hinges, then start laying from the door. In all other cases, the laminate spreads from a corner remote from the door.
- For direct installation, measure how many whole panels lie between the walls, what will be the length of the last segment. Carry out similar measurements in width. If the length of the last panel in a row is less than 30 cm, then start laying from half of the panel or its third part. In other rows, perform a symmetric offset. If the width of the last row is less than 5 cm, then reduce the number of whole panels in width by 1, saw off the same strips from the two panels for the first and last row.
- The panels can be stacked with an offset of half or a third of the length, in this case, a symmetrical pattern will be formed, repeating in each pair or unpaired row. If the amount of displacement is changed in each row, then an asymmetric styling is obtained.
Important! This method is considered the most non-waste and economical. We recommend that for each room to do the calculations first, and then select the appropriate type of installation and displacement.
- If the calculations show that the last row will have to be cut in width, then better cut the edge where the furniture will be, for example, the first. Under the furniture it will be less noticeable.
- The most difficult will be the installation of the last row, since it is necessary to carry out accurate measurements and carefully cut the boards. Adjust the last sheet more tightly, use a strip of profile or iron for this procedure. Bend the strip around the edges. On one side, the bend should be 0.5 cm, and on the opposite side, about 1-1.5 cm. Tap on the long bend with a hammer. A homemade tool can be replaced with a professional bracket.
Features of laying panels with different locks
There are several panel mounts.
Glue
Glue connection is used in rooms with an intensive flow of people. The tongue-and-groove mechanism is additionally involved in the latch, but the edges are pre-coated with glue for better adhesion and sealing of the seams.
Important! The disadvantages of adhesive bonding include the following: labor-intensive, time consuming, and it is impossible to disassemble the laminate on the adhesive later.
We recommend that you lay the laminate on the glue in stages: first collect 3-4 rows, wait a couple of hours until the glue hardens and the joint becomes monolithic, and then continue working again. Wipe off excess glue with a rag immediately.
Click lock
The most convenient and simple glueless installation with a click-type lock. The latch is collapsible, so it is impossible to damage it during installation or operation.
Important! Due to its features, the possibility of dismantling and reassembling panels is allowed.
The connection to the castle on a “click” basis is as follows:
- Install panels at an angle of 45 degrees to each other.
- Insert the protrusion into the mating part.
- Press and tap the hammer on the last panel to engage the lock.
Important! To the plate fell into place, repeat the procedure at 3 main points: beginning, middle, end.
Latch lock
The lock system is more vulnerable, and the connection of panels with such latches is a little more complicated and requires more skill:
- When laying a laminate with the “lock” system, place the panels side by side, parallel to the floor.
- The first panel is directed by the comb towards the wall, and the spike of the second panel is brought to its groove.
- Tap the junction with a hammer until the gap between the plates disappears.
to contents ↑Important! When assembling the next series, first try how it will be more convenient to dock new panels - individually or by a whole row. The most difficult thing is to work with the last row, as there is no room for maneuver. In this case, use a special clamp.
Stock footage
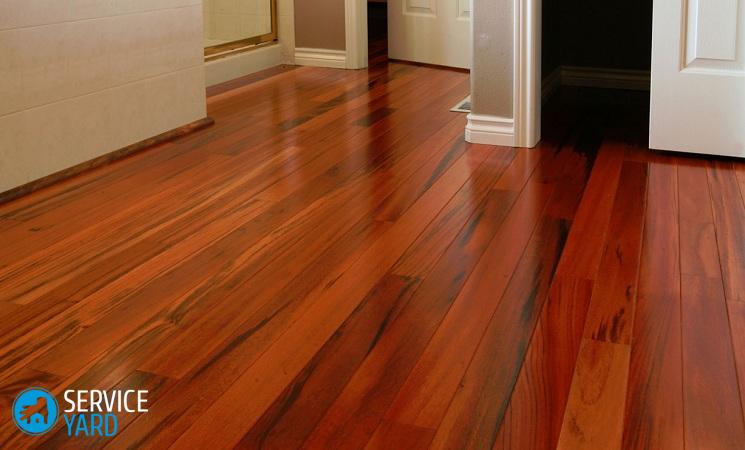
As you can see, the technique for laying laminated panels is quite simple, especially with the Click lock system. The most difficult thing is to make cutting and calculations of the laying process on a diagonal - we advise you to entrust this work to a professional if you do not have enough experience. For the rest, follow all our recommendations, tips, and a beautiful, reliable, high-quality coating will be at your feet!
- How to choose a vacuum cleaner taking into account the characteristics of the house and coatings?
- What to look for when choosing a water delivery
- How to quickly create comfort at home - tips for housewives
- How to choose the perfect TV - useful tips
- What to look for when choosing blinds
- What should be running shoes?
- What useful things can you buy in a hardware store
- Iphone 11 pro max review
- Than iPhone is better than Android smartphones
 (No ratings yet)