

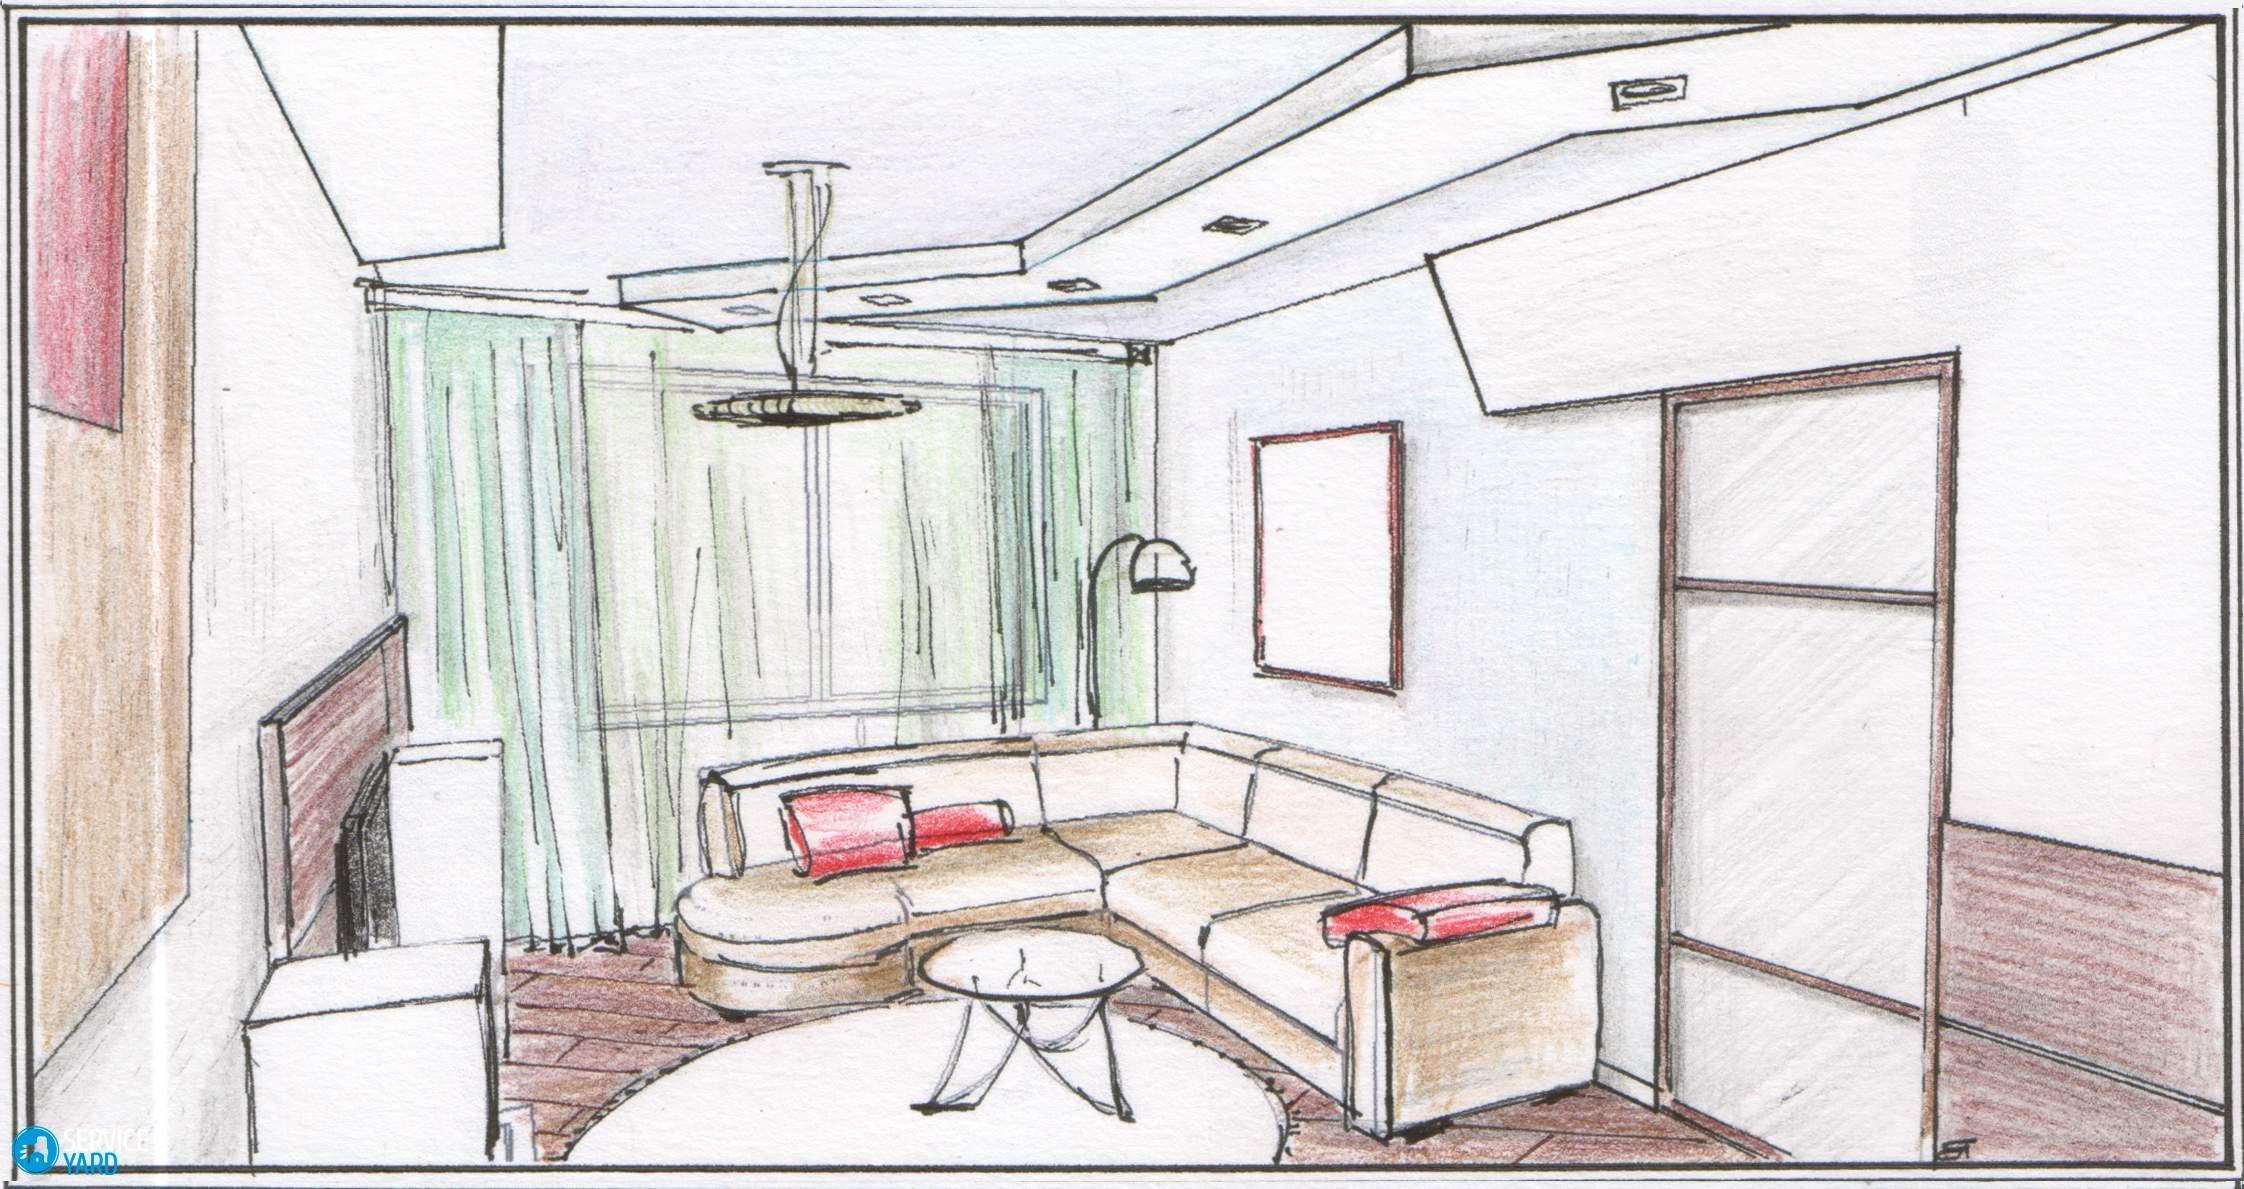
Drawing room with furniture in pencil

If you are planning a repair or just decide to move the furniture, it is important to present the result before starting work. At the same time, your idea alone will not be enough, because in order for the work to be successful, you need to clearly present the result and build an action plan from it. Therefore, you need to make a drawing of the room with the furniture in pencil. Let's try to figure out how to do it right.
to contents ↑Perspective
The first thing that we will need when deciding to draw the design of the room is building a frontal perspective. But first, let's decide why it is needed, what it is.
What is a prospect?
This is a special distortion of real proportions and a change in the shape of objects in the picture. This is done to make the image more realistic. For example, in a perspective image, a straight road will connect to a point extending to the horizon.
Frontal perspective implies that all elements of the picture will correspond to one point, which is called the vanishing point. At this stage, it should be remembered that there is also an angular perspective. Although the principle of construction of these two species will be the same, they have differences and should not be confused. For angular perspective, use two vanishing points and alignment, which allows you to create the depth of the picture.
So, let's look at how to create an almost real three-dimensional room on a flat sheet of paper in the form of a drawing with furniture in pencil.
to contents ↑Draw a room
Let's try to depict any fantasy room, but for a start we will prepare a little.
What do you need?
To create a sketch, we need very little:
- A few well-sharpened simple pencils with different softness.
- Eraser to remove unwanted lines, adjust sketch.
- Ruler for drawing straight lines.
- Colored pencils if you want to color the sketch.
- Pencil sharpener.
- A few sheets of paper on which you will work.
Preparation is completed - you can get to work. A simple sequence of actions will help you to do this.
Steps:
- First we turn to the back wall of the room, using a ruler, draw two horizontal lines that will be parallel to the top of our sheet.
- We draw two vertical lines parallel to the side parts of the sheet, respectively. In the end, we should get a square.
- In the center of our square we put a point. She will be the very reference point of the drawing room with furniture.
- Next, draw two pencil lines diagonally from one corner to the other without strong pressure so that they intersect at the reference point.
- After that, we can erase all the lines inside the square, leaving only the vanishing point, which is located in the center. We got a sketch of the room in perspective, but this is only the beginning.
- Next, we begin to do the door outline. When working, do not press the pencil too hard so that you have the opportunity to correct the picture in case of an error. Please note that we draw in volume, so in the drawing the lower part of the door or doorway should be slightly wider than the upper.
- In the same way we draw the floor, walls, while always remember to create the illusion of volume.
- From the vanishing point, draw a slightly visible line to the near side of the door. It will become a support for the rest of the drawing room with furniture.
- Draw a window opening. Usually it is located opposite the door.Remember to create volume, and make the bottom lines a little larger than the top.
- Using horizontal and vertical stripes, draw slopes for windows and doors. In the same way, draw a sketch for the stairs.
- For the drawing of the stairs, the back wall of the room can be taken as a basis. We draw horizontal and vertical lines according to her pattern to get the back of the stairs.
Important! When creating a drawing, all straight lines must be parallel to the very first. Otherwise, the purity of the picture and perspective may not work.
- Next, we reuse our reference point. All corners of the steps of the stairs are drawn using the support. Sketches are made from point to side, and after - extra lines are removed.
- To give our drawing a room with furniture, we circle all the corners, making them sharper, and also shade the places of shadows, depending on where the lamps will be located.
The sketch drawing is almost ready, if the result does not satisfy you, you can try several more times: rearrange the objects in the figure, arrange another lighting. Then you can try to sketch your room.
We make a sketch from a real object:
- To get started, find a convenient point from which you will be clearly visible to the room.
- Position yourself comfortably, as you will have to keep the sheet still for some time.
- Also, place the paper so that when you squeeze one eye, it is parallel, or better, it coincides with the farthest corner of the room.
- Next - without moving the sheet from a place, sketch all the elements that you see in the room: walls, floor, ceiling, furniture, textiles and lighting.
- After - you can relax a bit. The sheet must be scanned and a copy of it printed. The scanned sheet is painted with a pencil, adding details, light and shadow.
Important! When adding details, do not overdo it. First make a light sketch, and after that, supplement its lines and draw shadows.
Recommendations:
- When creating a picture, work carefully and carefully - any inaccuracy can lead to a skew of parts relative to each other.
- Do not forget to use a ruler. Freehand drawing, of course, looks more lively, but if we talk about accuracy - the ruler is the best assistant.
- In order not to confuse the guides and the main lines, you can shade the areas of the floor and ceiling, or work in different colors.
- If you want to complement the picture, you can decorate the walls and other surfaces with patterns, paintings or graffiti.
- For the correct arrangement of furniture and other large items in the room, focus on the guide lines.
- At the end of the work, do not forget to remove unnecessary lines with an eraser.
Of course, the first time you are unlikely to depict a perfect drawing, but after a little training, you will get an excellent drawing of a room with furniture and other items.
We disassembled one of the complex options for drawing a room. Such a sketch will turn out to be very beautiful and detailed, but sometimes it simply is not necessary. Therefore, further talk about how to create a simple plan-drawing of a room with furniture in pencil.
to contents ↑Scheme
If you are going to make a rearrangement, you do not need to imagine how the furniture will look. It is more important here that it fits in a given space, so here it will be easier and more convenient to make a drawing of a room with furniture with a pencil - a top view.
Important! For work, you can use computer programs. But if they are not installed, then it makes no sense to waste time downloading and studying their functions. Much faster to do it manually.
We will need
Everything is very simple here:
- tape measure for measuring real objects;
- eraser and sharpened pencil;
- pencil sharpener;
- ruler;
- paper on which we will draw up a plan and a sheet in a cage.
Having prepared everything you need, we begin work.
Sequencing
The work is quite simple, if you are careful about the size, and follow the following steps:
- The first step is to draw on the sheet the shape of your room with all the bends of the walls.
- Next, use a tape measure to measure all the dimensions of the walls, write them down on a drawing of a room with furniture.
- After - the location of the batteries, risers, windows and doors is marked on the sketch. The square that is involved in opening the door is drawn as a quarter of a circle and shaded.
- Do not forget to mark on the diagram where sockets and switches are located.
- Next, we move on to measuring furniture sizes. If there are no niches in the room, then the height of the objects is not important to us.
- But the height of the room will need to be measured and marked next to the drawing.
- After all measurements, take a piece of paper in a cage or drawing paper, and draw up a neat drawing of the room. To do this, select the optimal scale. A ratio of 1:20 is considered convenient, but you can choose any convenient for you.
- We use a pencil and a ruler, and draw the perimeter of the room according to the selected scale.
- Next, we transfer from the sketch all the furniture, windows, doors and sockets. To indicate where the door opens, you can use the compass.
- The final step will be the removal of jagged lines with an eraser and a mark on the drawing about the scale and actual size.
to contents ↑Important! To make the scheme understandable, you do not need to overload it and sign each object. It is enough to shade them in different ways and render the hatching as a designation for the drawing.
Stock footage
In this drawing of a room with furniture with a pencil is ready, now, guided by the scale, you can move objects as you would like. Good luck
- How to choose a vacuum cleaner taking into account the characteristics of the house and coatings?
- What to look for when choosing a water delivery
- How to quickly create comfort at home - tips for housewives
- How to choose the perfect TV - useful tips
- What to look for when choosing blinds
- What should be running shoes?
- What useful things can you buy in a hardware store
- Iphone 11 pro max review
- Than iPhone is better than Android smartphones
 (No ratings yet)