

To sew a coat for the girl with your own hands. Patterns for beginners
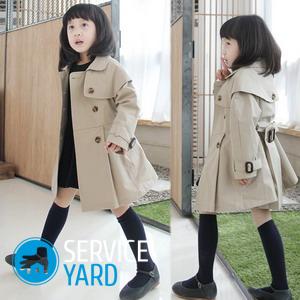
All parents want their child to have all the best - this applies to toys, household items, food, of course, and clothing. This is especially true for little princesses, because women have a desire to dress in fashion, beauty and style from birth. Therefore, in this article we will consider how to sew a coat for a girl with your own hands. We will also build patterns on our own in order to facilitate the work process as much as possible.
to contents ↑How to make a pattern yourself?
The manufacture of any clothing begins with the construction of a basic pattern, which means that it is necessary to begin with this. To sew a coat for a girl with her own hands, for beginners, the following measurements should first be taken:
- Length of the product.
- Chest circumference.
- The width of the back.
- The length of the sleeve.
- Neck circumference.
- Girth of the hand.
- Fist girth.
Backrest detail
The drawing of the backrest part is carried out according to the following scheme:
- Production of the back part. Take a sheet of paper, draw a right angle in its left part, mark the vertex with point A. Then, downward from it, in a straight vertical line, postpone the value corresponding to the length of the coat with an increase of 1 cm. Put mark В, draw a horizontal line to the right of it. Then again, lay off from it a segment equal to one third of the circumference of the neck and plus 2 cm, mark point C, draw a horizontal line from it to the right. So we got the back width line.
- The design of the neckline. Down from peak A, set aside 1 cm and mark the line to the right, the length of which will be one sixth of the circumference of the neck and plus 0.5 cm, mark it. Using a pattern, connect all these marks to get a neckline.
- Shoulder section design. To the right of the vertex C, measure a segment equal to half the width of the back, add 1 cm and mark point D. From it, draw a perpendicular upward with a dotted line to the point of intersection with the horizontal of point A. Measure 3 cm downwards with a dotted line, mark point E. Connect it continue with an inclined line with a neckline located on horizontal A, continue beyond point E by 1 cm, mark point E1.
- Making a side cut. To the right in a straight line from mark C, set aside a quarter equal to a quarter of the circumference of the chest, add 1 cm, designate as D1. Draw a perpendicular downward from it to the intersection with the horizontal B. On the perpendicular downward from D, set aside a segment equal to the sixth of the neck circumference, put the point F, which will indicate the depth of the armhole. To the right, continue the horizontal B for the dotted line by 6 cm and put the point G. Connect G and F, as a result - we get the necessary line.
- The design of the armhole line. Connect F and E1 with a smooth line through the vertex D with the help of a pattern.
- The design of the bottom. On the side cut, set aside 2 cm from point G, make a mark, connect it smoothly with vertex B. Continue straight line B by 3 cm, put mark B1, connect it to the neckline point along line AB, we get a line pointing to the middle of the back.
Shelf detail drawing
The pattern of this part is constructed as follows:
- On the right side of our sheet, draw a right angle, mark the vertex as A. From it, vertically and horizontally draw straight lines, the so-called auxiliary lines. Horizontal lay down the length of the coat, add 3 cm, put a mark B. To her left draw a horizontal line.Down from mark A, put aside the vertical segment corresponding to a third of the circumference of the neck, add 3 cm, put C, draw a horizontal line to the left of it.
- Neck design. According to the already known scheme, build the width of the neck. To build its depth, from the top A down, lay a straight line equal to the sixth of the neck circumference and add 2 cm. Put a mark indicating the depth and width of the neck, smoothly connect them with the help of a pattern.
- Shoulder design. Draw a dashed line for the auxiliary line starting from the neckline of the front of the line below the line A by 4 cm. From the neckline mark on the straight line A, set aside the inclined length equal to the length of the shoulder minus 0.5 cm to the point of intersection with the dotted line, indicate peak D .
- Making side cuts. Set aside the value corresponding to one fourth of the chest circumference, plus 4 cm horizontally C, set the designation E. Draw from it perpendicular down to the top of In a straight line. On the same vertical line, lay down a segment from the top E equal to the sixth of the neck circumference with an increase of 2 cm, put a mark F, indicating the depth of the armhole. To the left of the auxiliary perpendicular, continue line B by 8-10 cm, put a mark G, connect F and G with a straight line at an angle, to get a side cut.
- The design of the armhole. Lower the perpendicular from the mark D to the intersection with the line C segment. To the right of the received mark, put aside 1 cm, put the mark Е1, indicating the width of the shelf. Connect the vertices F, E1, D smoothly with the help of a pattern.
- The design of the rounded bottom. Set aside upwards on the side cut from the top G 2.5 cm, then connect this mark smoothly with the mark B, the straight line AB will appear in the middle of the shelf.
Construction of side cuts
To sew a coat for the girl, we will definitely have to build a pattern of these details. For this:
- It is necessary to cut the neckline and horizontal B to the right to continue by 5-7 cm.
- Then connect the resulting marks with a vertical, indicating the side cut.
- Further, a segment of 1 cm is laid to the left of it at the level of the neckline, the mark N.
- It should be connected smoothly with the side cut.
As a result of such simple manipulations, you will get a little coat model with a round or straight collar.
Round Collar Pattern:
- Connect the details of the shelves and the back along the shoulder sections, draw a contour on the paper along the lines of the middle of the shelves and the neckline.
- Remove the patterns of shelves and backs, build a collar within the resulting contour.
- A section of its rack can be formed by a contour along the neckline, which is located between the sign pointing to the middle of the back (A) and the sign of the middle of the shelf (B).
Sleeve pattern
A sleeve pattern is built within the same grid, because it consists of two parts:
- the top, which is slightly larger in size;
- lower smaller.
Procedure:
- First you need to build a rectangle ABCD so that its length corresponds to the measured length of the sleeve, the width is equal to one third of the circumference of the chest and plus 2 cm.
- Then the direct speaker is divided in half, this place is denoted by the letter E.
- Next, we descend along the perpendicular to the point of intersection with line B.
- A segment equal to AE is laid down vertically from the vertex A, sets
- mark F, then a horizontal line is drawn from it to the intersection with the segment CD. The vertical segment corresponding to half of the AF segment is laid down vertically from the mark C, the mark G is placed, then a horizontal line is drawn to the left of it until it intersects line E.
As you can see, there are no difficulties in constructing a pattern, if you follow the instructions step by step. Now further we will consider how to sew a coat for a girl with your own hands, to dress your beloved daughter in new, stylish, beautiful outfits, to model products of any style on your own.
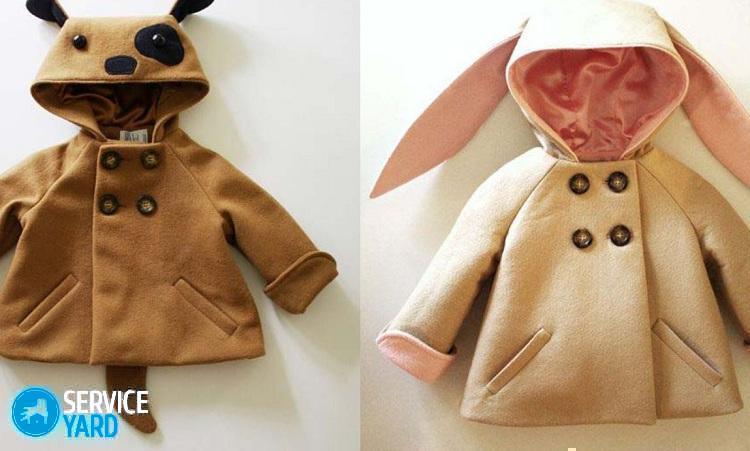
to contents ↑How to sew a baby coat on your own?
A coat for a girl with her own hands can be sewn according to the following pattern:
- Start with the back half. Divide the width of the baby in two.Align the end of the tuck with the division point.
- Cut the back half from the sprout to the end of the tuck, slightly not reaching the edge, about 3 mm. Close the tuck. Shift the center line of the backrest from the fold by 7 cm. Increase the cutting element at the bottom due to the fold by 15 mm. Cut out two parts.
- Cut out the two gear parts with allowance. Mark the locations of the pockets.
- Cut out the sleeves.
- Attach the center of the gate to the fold, cut two parts from the lining and the base material.
- Sew tucks on the chest and shoulders, stitch the one-sided fold.
- At the entrance to the pocket to the front halves, acquire lobar strips of fabric. Trim the pockets.
- Iron the product.
- Finish the lining, sides, stitch the coat.
- Work on the sleeves, sew them into the armholes.
- Finish the collar and sew in the neck.
- Make loops, stitch buttons.
- Finish the nodes and elements of the product.
Stock footage
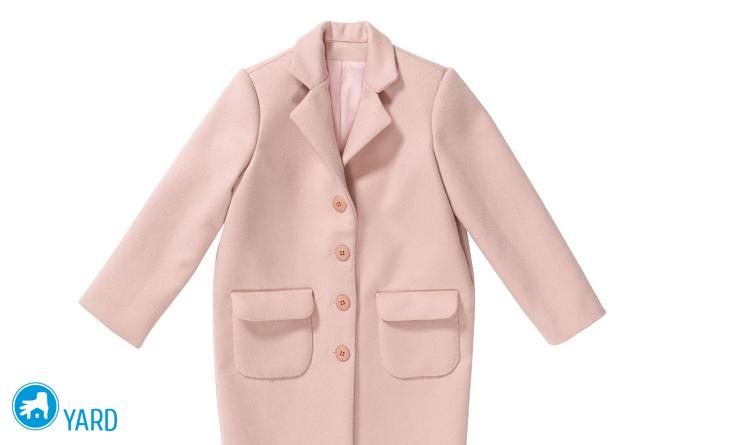
So, with a little work, you can sew a coat for the girl 2 years with your own hands, without owning special skills and experience. From now on, you will be able to delight your child with quality things made with all your care and love.
- How to choose a vacuum cleaner taking into account the characteristics of the house and coatings?
- What to look for when choosing a water delivery
- How to quickly create comfort at home - tips for housewives
- How to choose the perfect TV - useful tips
- What to look for when choosing blinds
- What should be running shoes?
- What useful things can you buy in a hardware store
- Iphone 11 pro max review
- Than iPhone is better than Android smartphones
 (No ratings yet)