

DIY moccasins
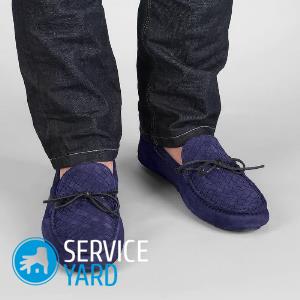
Ethnic style is back in fashion. Fashion houses offer a modern interpretation of traditional Native American shoes - moccasins. This is a practical, comfortable item of clothing, it is very versatile, suitable for both an informal casual and a classic style. Elegant, patterned models perfectly complement the delicate and feminine image, without requiring its owner daily torment when walking in heels. Simpler models emphasize a businesslike or sporty lifestyle. It is also interesting that do-it-yourself moccasins can be made at home. How exactly - we will tell you in this article.
to contents ↑Types of Moccasins
Traditionally, these shoes were sewn from the skin of a buffalo or bison, and later from deer skin. The shoes were decorated with embroidery, beads, beads made of natural materials. The decor had a sacred meaning, could symbolize, for example, the wings of a bird.
Here are the options that have been and remain:
- Navajo, Apaches. A rigid sole with a toe turned up was sewn for the plains, protecting the legs from sharp stones. Fashionable shoe designers adopted this design and turned this functional technique into part of the decor.
- Chiroki, Comanche. To walk on soft forest litter, shoes were designed that tightly wrap the foot. As a rule, such moccasins were made from a single piece of leather, sewn in the center.
- Women of Comanche, Apache, Arapaho and Wichita wore high moccasins that fully protected the leg.
Important! Leather for high boots, soft slippers was previously smoked on fire, making it more durable. Then they were stained with natural dyes and stitched using animal tendons instead of threads.
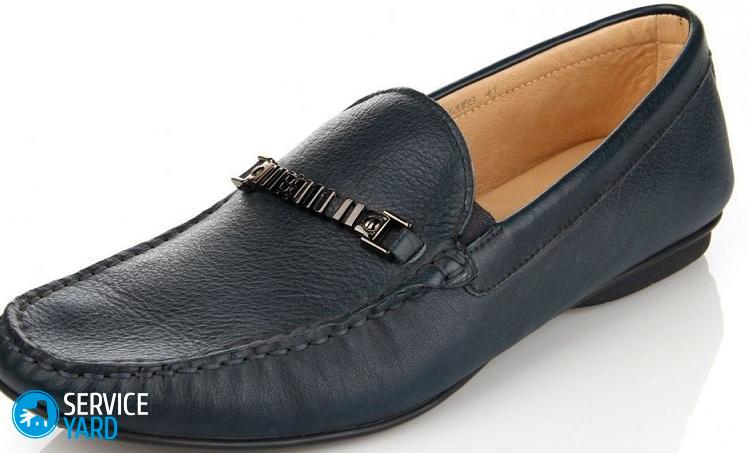
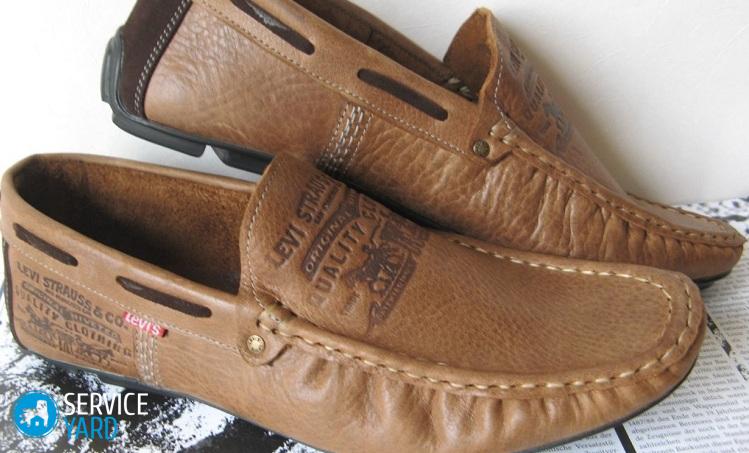
Since 1946, the “Minnetonka Moccasins” brand began producing modern footwear for Native American tribes for travelers. And then moccasins migrated to the wardrobe of fashionistas around the world. Currently, the sole of the shoes is made of rubber, and thick leather is used only for sewing luxury shoes. The appearance has also changed - modern moccasins are often made with laces, the skin of exotic animals is used, and the traditional ocher colors have been replaced by bright colors.
to contents ↑Important! Moccasins are summer shoes; they are not worn off-season with warm raincoats and sweaters.
Materials and Tools
Sewing needs good tools that will facilitate the work:
- Soles for shoes made of rubber, rubber, leather or latex.
- Threads. Tendons and natural fibers are traditionally used, but modern materials are superior in strength. Waxed nylon threads are the best in sewing. For decoration, take a floss or wool.
- Pliers. The needle will become stuck during sewing, so additional tools will not be superfluous.
- Glue. It will help in the construction of patterns and for temporary fixation of details.
- Lining material. If an insulated version is sewn, then you can make a lining of thin fleece.
- Leather. Thin - for the shaft, thick - for the soles.
- Needles, awl.
You can use old shoes or clothing for both sewing and decorating shoes.
to contents ↑Building patterns
Such shoes as moccasins are sewn with their own hands according to the patterns of authentic shoes or according to modern, more complex patterns. The pattern may consist of 1 or more details. There are models that are a piece of leather with cuts that wraps around the leg, fastened with stitches. But for such shoes it is necessary to take measurements.
Important! Moccasins are good precisely because they are sewn on the leg, taking into account all the features of the foot.This means - the shoes are as ergonomic, lightweight, comfortable as possible.
To remove patterns, you can use professional pads. But the best option is to take all the measurements yourself:
- First, the contour of the foot is removed, the fingers are marked, the rise of the foot.
- Then a toe is formed with paper, wrapping the foot with paper and tape.
- Based on the measurements taken, a working pattern is built with the exact dimensions of the foot.
Important! Correctly taken measurements are the key to comfortable shoes, so do not neglect this step in sewing, do not save time using standard patterns.
Soft moccasins in one piece
These shoes are sewn from one piece of leather based on a standard pattern that fits on the foot.
Important! Such moccasins with their own hands at home can be made from felt, then comfortable slippers will turn out.
Here's what you need in your work:
- graph paper;
- scissors;
- pencil;
- glue stick;
- ruler, square, centimeter tape or curvimeter;
- cardboard and plain paper;
- awl;
- threads.
Building a pattern:
- Production begins with an accurate measurement of the legs. From a piece of cardboard we cut out the insole. We put our right foot on the paper and, holding the pencil strictly perpendicular, draw a outline.
Important! If these are outdoor shoes, wear a thick toe that will provide a margin for comfortable socks.
- Without taking your foot from the cardboard, we note the main points: the ankle bone inside and out, the narrow part of the arch of the foot on both sides.
- Cut out the insole with a margin. Then smooth the toe area.
- Mark the point between the thumb and forefinger and the heel point. Connect the line.
- From graph paper, cut a piece of 70 * 40 cm (for the 39th size).
- Combining a straight line on paper and the insole template, circle the pattern, mark all the marks.
- Add a point marking the tip of the little finger.
- We number the marks as follows: M- little finger, U is the narrow part of the arch outside, H is the outer bone, P is the heel, B is the inner bone, C is the narrow part of the arch inside, T is the point between the fingers.
- We proceed to the construction of the upper part of the shoe. Lay the line from point 2 to the right, parallel to T-P.
- From T to Y, lay 5 cm and mark the end of the segment as 2U.
- Connect the straight line M and 2U.
- We measure the length of the following segments with a centimeter tape: У-Н, Н-П, П-В, В-С.
- We postpone all measurements in the same order on a straight line and mark them with the corresponding numbers.
- Draw up perpendiculars with the following dimensions:
- N-HA: 5 cm;
- P-PA: 5.5 cm;
- B-VA: 5 cm;
- C-SA: 5 cm and draw this line further, 2 times.
- Connect the markup to each other.
- Build a valve. To do this, extend the straight line U-C to the right by 14.5 cm. From the top point, lay the perpendicular.
- We translate the pattern of the insole and the beginning of the valve onto tracing paper.
- For convenient work, transfer it to cardboard and cut it along the contour. Part of the pattern is ready. It remains to make the top of the shoe.
- Wrap the toe of the foot with paper and wrap it tight so that it wraps around the toe.
- Mark 14.5 cm in the center.
- Without removing the paper, we put our foot on the pattern.
- Transfer the points U and C to the paper.
- We apply a centimeter and connect the lines.
- We unfold the paper, trace the outline of the sock and cut the folds into petals.
- We again stand on the template. Putting the paper parts together, mark the sidewall of the valve.
- We trim the valve along the markings and round the corners.
- From the graph paper we make the final pattern for moccasins, stick it on cardboard and cut it out.
- To make it convenient to work with the pattern, we make notches with small scissors at the points N, P, B, C.
Important! Before you start working with the skin, make a trial shoe made of dense fabric. Then try it on the right and left foot, turning inside out.

Triangular Leather Loafers
This is a simpler model, on the basis of which you can sew loafers for children and for the home.
Here's what you need in your work:
- piece of leather 50 * 40 cm;
- scissors;
- needle with thread;
- for patterns - paper, cardboard, ruler, pencil.
Working process:
- Circle the left and right foot on the cardboard.
- We put the marks L and P on the appropriate template - so during operation you will not mix up patterns for each leg.
- We mark with a pencil the highest point of lifting the foot.
- Divide this line in half, put the line to the heel from the center, extending it by another 2.5 cm per contour. The result was a markup in the form of the letter T.
- Draw the lines so that the tips of the thumbs, touching the nails and the phalanx, are in the center of the T-bar, and the index fingers look at the top of the foot.
- We draw a line along the edges of the palms. You will get a triangle with the fingers at the top and the heel at the base.
- Cut out the pattern by rounding the edges of the figure.
Important! Do not forget that the pattern should be 2.5 cm longer on the heel side and 18 mm longer on the toe side.
- Let's make a pattern for the other leg.
- Cut the foot out of the patterns, glue it on cardboard.
- Transfer the pattern to the skin, cut out the insole.
- Sew the upper part and the sole. The thread should be long enough to sew a knot-free boot.
- We attach the insole to the triangular piece of leather and grind off the details starting from the side of the fingers. You should get a seam running along the side of the slipper.
- We move in a circle, overcasting the edge and go to the backdrop. Sewing it, we sew the other half and return to the seam on toes.
Important! For beauty, leave more skin for the side seams and, bending it inward, overcast with a thick thread.
- With scissors, we cut a section of 2-2.5 cm in the part of the ankle to the point of intersection of the previously outlined lines. It will be a moccasin tongue.
- Similarly, we sew the second shoe.
Important! Decorate the finished pair with leather fringe from a strip of leather and beads.
High moccasins with side seam
These half boots are sewn according to the modernized pattern of the traditional Salish tribal moccasins - Canadian Indians. They can be made not only from leather, but also from felted wool. Seams pass only from the outside, which makes sewing easier:
- Take measurements from the legs, as described above.
- On paper, mark the width of the foot in the metatarsal region as AA1. Set this segment aside again and mark point B. It turns out that the insole is folded 2 times.
- Mark the thumb bone as M1, and the tip of the index finger as M.
- From point A, draw a perpendicular to point L, mark its end as X. Draw segment XL. Similarly, put the point X1 on the second part of the pattern.
- From the heel we postpone a segment of 2 cm and denote it as L.
- Fold the paper according to LM so that A and B are folded.
- Cut the pattern from L through M and M1
- Transfer the insole to the skin in the opened form and cut it out.
- Build the shaft from points L1 to J and K. Its length is equal to half the segment LM. The segment JK is 50 cm.
- Dotted line mark the boot tongue so that it is longer than JK. If made shorter, it will not tuck. Approximate dimensions: width 6.3 cm, length 15.2-20 cm.
- Fold the parts face inward and sew from M1 around the circumference to X and X1.
Important! When sewing, check the points for coincidence so that the loafers are even.
- We will form the heel and sew the bootleg. The top of the boot is 15 cm wide and 12.5-15 cm longer than the LM section. For children's ankle boots, height 7.5-10 cm.
- Stitch the tongue and sew the strings.
to contents ↑Important! On the basis of this pattern, you can sew moccasins of a different size, increasing it.
Stock footage
Now you know how to sew moccasins of different styles. Try to make this practical, durable and most importantly - beautiful shoes yourself, you will surely be satisfied!
- How to choose a vacuum cleaner taking into account the characteristics of the house and coatings?
- What to look for when choosing a water delivery
- How to quickly create comfort at home - tips for housewives
- How to choose the perfect TV - useful tips
- What to look for when choosing blinds
- What should be running shoes?
- What useful things can you buy in a hardware store
- Iphone 11 pro max review
- Than iPhone is better than Android smartphones
 (No ratings yet)