

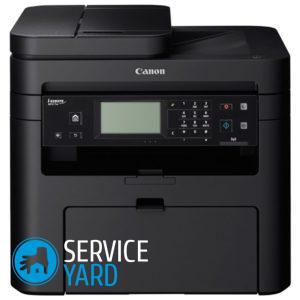
How to install a printer?
Everyone who has had to deal with a printer knows for sure: for the device to start working, you need an installation disk. But situations when there is no such disk arise quite often - it may get lost on its own or lose information. You could buy a printing device from hand, so the much needed iridescent circle remained with the previous owner, if at all. What to do? This article will answer the question of how to install the printer.
to contents ↑First steps
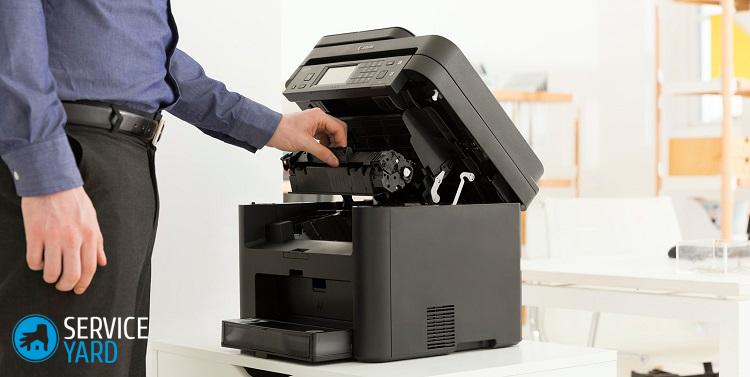
How to install a Canon, Lexmark or any other printer? Regardless of whether you have a driver disk or not, you first need to connect the printing device to the computer. There is nothing complicated about this:
- Put the printer in the space provided for it.
- Plug it into a power outlet - almost all models are connected using the most common cable, exactly the same as the system or monitor.
- Connect the printer to the computer using the USB cable.
to contents ↑Important! The printer cannot be turned on through an uninterrupted device - it needs the usual voltage that is in the city power network, otherwise it will not work or it will drain the battery at one point.
Computer connection
Having a problem how to install the printer on a computer, make sure that both devices are connected correctly. The options may be different, but the most popular is via the USB port. Before you connect the printer to a laptop without an installation disk or even having one, pay attention to whether you have such a cable.
Usually it comes with a computer, but you can buy it separately at any computer store. But you need to pay attention to the cable version:
- USB 1.0;
- USB 2.0
- USB 3.0
Important! USB 1.0 is almost no longer available, but it is still on sale, not to mention the fact that many old computer engineers have preserved it on the farm. This is not suitable for a modern printer, they are connected only via USB 2.0 or USB 3.0.
To determine which cable is needed, look at the connector on the computer. He can be:
- blue long, with right angles;
- white, gray or black square with beveled corners.
The blue rectangle is USB 3.0. everyone else is USB 2.0. You need a cable like that. Inspect it - the connectors are different in shape:
- Flat, also called “Type A,” insert into the computer jack.
- A square or rectangular is inserted into the printer slot.

Where to get the drivers?
How to install a printer on a laptop when there is no installation disk or a drive is not provided at all? In the same way as on a computer, if the installation data is lost. You need drivers, that is, additional software, without which the printer can be handed over to the museum - it will not work.
Important! There are, of course, devices that the system recognizes automatically. But hoping that you are so lucky is hardly worth it.
Installing a printer in itself is a snap, the most important thing is to stop being afraid. Even if this is your first time doing this, you can carry out this procedure in half an hour. There are two ways to do this if you download the driver package from the Internet:
- Use the features of Windows Update;
- yourself if you know the identification code or model.
The option with Windows Update is good if the printer is not particularly sophisticated. You will receive the basic package, and the printer will be able to print or print and scan. If you need any other functions, choose the second option, because you can find and install the latest version of the software.
Important! Sometimes you have to rearrange drivers if the printer does not work correctly. One of the reasons for the failures is a previously installed driver that is not suitable for you.

Windows update
The Windows operating system has all the necessary software for the most common devices, that is, for printers too. To start them, follow this algorithm:
- Connect the printer to the computer.
- Wait a few minutes.
- The printer must connect itself.
If the device does not work, take the next step.
- Click the start button.
- Click the “Control Panel” tab.
- Find the line “Hardware and Sound”.
- Click the “Devices and Printers” tab.
- Among the device icons, find a computer or laptop.
- A context menu will appear in which you need to find the line “Windows Update”.
- In the window that opens, click the “Check for Updates” button.
- After that, the system will automatically check for updates for the entire periphery.
- Wait for updates to load.
- Reboot the machine.
- Check if the printer is working.
Important! If the printer still doesn’t work after the upgrade, check the USB ports.

Manual installation
If you are interested in how to install a Samsung printer or any other printer, but it didn’t work automatically or using the OS’s capabilities, you will have to act in a more sophisticated way:
- To get started, disconnect the printer from the computer. Click the start button.
- Find the “Control Panel” tab.
- Find the “Devices and Printers” tab (in some versions - “View Devices and Printers”).
- Find the line “Installing a printer” on the top panel (in some versions, “Add a printer”).
- You will see the printer installation wizard, which will offer several options, including “Add a local printer” - this offer should be selected.
- In versions of Windows 8 or Windows 10, you must click “The required printer is missing”, and then select the option “Add a local or network printer”.
- Set the parameters and click the “Next” button.
- When the installation wizard prompts you to select a port, select the one by default, that is, LPT1, and click the “Next” button.
- You will see the “Windows Update” button, click on it and wait for the drivers to update.
- You will see a list of the most popular printer models.
- Find the company on the left side of the list and the model on the right.
- Proceed to the next installation step.
- Give the device a name (you can leave the default one) and click the “Next” button again.
- Wait for the installation to finish.
- The “Use general settings” window will appear in front of you - select “No sharing” and click “Next” or “Finish”.
- Then you need to remove what you just installed, that is, stand with the mouse on the printer icon and right-click.
- A context menu will appear before you - select the line “Remove device”, the driver package will remain.
- Reconnect the printer to the computer.
- Wait for the machine to recognize the connected device.

Data from official sites
If you are thinking about how to install an HP MFP or any other multifunction device, as well as a simple printer, do not neglect the official websites of the manufacturers. You need to know:
- a company;
- model.
All this information is in the documentation for the printer, and on the device itself.
Farther:
- Open a browser.
- Go to the page of any search engine.
- In the search bar, type “printer”, model, drivers, download.
- Look at the first page of links - usually the one that leads to the developer's site is at the top of the list, but not always. Therefore, make sure that you get to the right place and do not download any virus instead of much-needed software.
- The address should not be too complicated - usually there is the name of the company and the extension (most often com).
- Find the model you need in the list and download the software.
Why is it better to use official sites?
Official websites were created to host software for customers who, for some reason, lost bootable discs. This method has its advantages:
- it is safe - the drivers do not have malicious code and have a digital signature;
- The site contains the latest software versions.
Important! The only minus is that on official sites it is not always possible to find software for old models, discontinued, and ancient operating systems.
Find the page you need:
- drivers and other files;
- BY;
- software;
- downloads;
- drivers.
Farther:
- Enter the model of your device in the search box and find the desired file.
- If the corresponding window appears, enter information about the operating system.
- Click the “Download” button.
Important! On some sites, the printer model is determined automatically - there is a corresponding button.
Files to choose from
On some official sites, the user is given the opportunity to independently select the driver package. You may be offered a version:
- basic;
- extended.
The first gives you the ability to access the basic functions, the second - to additional. After the file is downloaded, run it. The installation wizard opens, and you just have to follow the instructions.
How to find out ID?
Knowing the identification code can make life easier if you need to reinstall the software:
- Go to the “My Computer” section.
- Find “Device Manager”, click.
- A window will open before you - find your device.
- Click on the desired line, right-click and open the “Properties” tab.
- In the dialog that opens, find the “Details” tab.
- In the line “Properties” find the item “Equipment ID”.
- Copy the code that appears in the box below (the first one is selected from several values).
Stock footage
In this article, we told you about all the ways that you can install and connect a printer of any manufacturer, any model without the help of a specialist. We hope that all the information was clear to you, and you successfully coped with the task.
- How to choose a vacuum cleaner taking into account the characteristics of the house and coatings?
- What to look for when choosing a water delivery
- How to quickly create comfort at home - tips for housewives
- How to choose the perfect TV - useful tips
- What to look for when choosing blinds
- What should be running shoes?
- What useful things can you buy in a hardware store
- Iphone 11 pro max review
- Than iPhone is better than Android smartphones
 (No ratings yet)