Floor repair in the apartment

Floor repair in an apartment is one of the stages of renovation of the entire home. This is an integral part of large-scale repairs when moving to a new building, or when they are engaged in altering the floor during the overhaul of their apartment or private house. No matter how qualitatively the floor was made, nothing lasts forever, sooner or later everything becomes unusable. In this article, we will familiarize ourselves with the most popular flooring options to date, and also consider the process of repairing the floor in an apartment with our own hands in stages.
to contents ↑Need for floor repair
Paul is one of the few places in the apartment that can withstand a constant load every day. In the most passable places, the coating gradually wears out: the top layer is rubbed in the tile, the parquet begins to creak, the laminate is deformed, linoleum loses its attractiveness. This problem requires a timely solution, because no matter how you transform the interior, it will not look decent with a poor floor.
The flooring can be repaired (parquet restored), the coating itself can be replaced (laminate, linoleum), or the floor can be completely replaced from scratch. Whatever you choose - all this requires a significant investment of finance, time and effort.
to contents ↑Start repairing the floor. Useful Tips
- Before you start repairing the floor, look at examples of modern flooring on the Internet, go through hardware stores and feel everything live, write down the prices.
- While at home, calculate the amount of necessary materials and make an estimate. So you will understand what the repair of the floor in the apartment will result in, if you can do it at the moment.
- In addition, if you do not have the necessary skills or do not have free time, you will have to find and turn to professional builders. And these are additional expenses that should be taken into account in advance.
If you want to save money, get down to business yourself. This article provides information on floor repair in an apartment that will be of help to you.
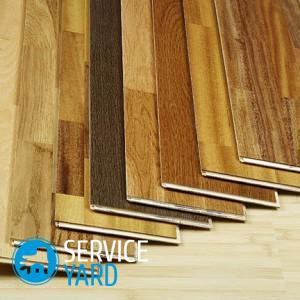
to contents ↑Replacing flooring
If the condition of the floor itself suits you, it is even and without defects, you can simply replace the top floor covering. This is the most budgetary and least laborious repair of the floor in the apartment with your own hands.
Most often they change the old linoleum to a new one or to a laminate. You need to free the room from the furniture and with the help of simple manipulations remove the old cover and baseboards. A new substrate is laid on a flat clean floor, and then a new coating.
Linoleum
For apartments, they usually take a semi-commercial type of linoleum. It is the best option, both in price and quality:
- Choose the width of the cover and calculate the right amount so that it is not necessary to connect the two parts in the middle of the room. Consider a margin of 10-15 cm at the edges.
Important! If joints can not be avoided, and linoleum has a pattern, do more stock.
- Before cutting, spread the cloth in the room and let it level out. Only then cut, leaving allowances.
- You can lay linoleum on the floor without glue, fixing it with plinths (suitable for small rooms with a small load), and you can glue it on a special adhesive tape or mastic.
- After laying the coating, cut off the excess and install the skirting board.
Laminate
This is a fairly practical flooring, moreover, affordable.
Important! Laminate is easy to install, long-lasting and easy to clean. Its disadvantage is that it is afraid of high humidity.
If you want to make floor repair in an apartment with such material:
- For an ordinary apartment, a laminate of class 31 and 32 is enough.
- When choosing its thickness, consider how much the floor level will rise so that this does not interfere with the opening of the doors.
- Calculate the amount of laminate based on the size of the room and the installation method.
Important! If you lay it simply along the wall, then there will be little waste. And if the diagonal or herringbone, then take a larger supply, as the waste can be from 10 to 25%.
- The laminate is laid on a flat floor, on a special substrate.
- Spacer wedges are fixed on the walls with screws (for compensation clearance).
Important! Particular attention should be paid to the front row. The evenness of the remaining rows depends on it. Therefore, for the first - it is recommended to do the markup with a tightened twine.
- In a row under the window, you will need to carefully cut out the hole for the heating pipe.
- The last row under the wall is laid with a clamp and a hammer.
- Do not touch the floor for a day. Then remove the wedges and lay skirting boards that mask the gaps.
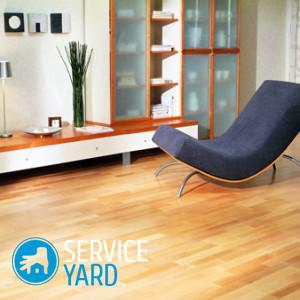
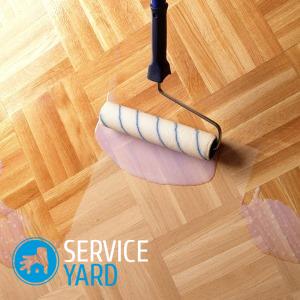
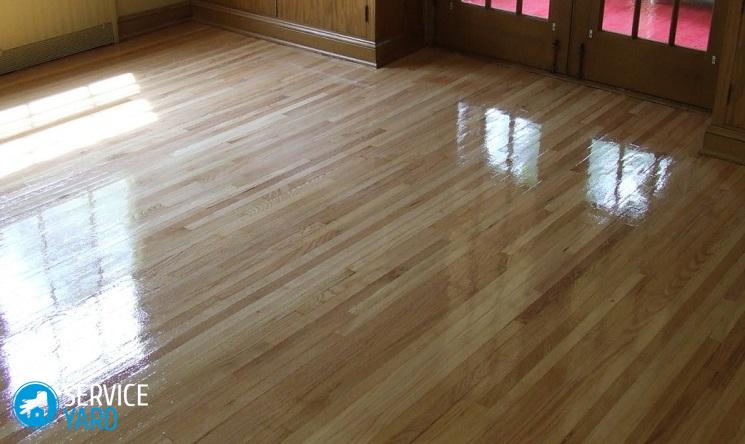
Wooden floor restoration
If there is no doubt about the quality and reliability of the base, and the wooden flooring is quite suitable, then it can be left and just updated. Natural wood flooring has always been appreciated, and now the price of such a floor material is simply shocking. Therefore, if possible, the tree should be preserved.
The wooden floor can be made in the form of a board or parquet. Consider what the restoration of each of the floor design options consists of.
Boards:
- If you want to tidy up the floor from wooden boards, then you need to review each floorboard.
- If you have a ground floor, it is recommended to replace the insulation layer under the boards.
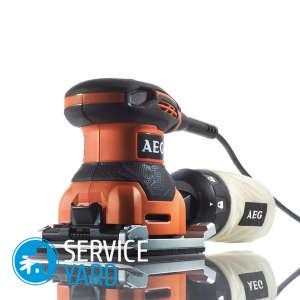
- The entire surface is treated with a grinder to remove old varnish, paint, dirt to a clean wood.
- Unsuitable floorboards should be replaced.
- It is necessary to strengthen the fastening of boards to the lags. To do this, drive nails deeper.
Important! For reliability, use self-tapping screws.
- All cracks, pits from hats and other irregularities need to be covered with a special putty on wood.
Important! If the gap is more than 5 mm, it is better to close it with wooden choppers and putty.
- After the repair, you need to go through the grinder or sandpaper again.
- The next stage of work is carrying out dry, then wet cleaning.
- After drying, the boards are coated with paint or varnish.
Important! If you plan to apply several layers of the coloring matter, allow each of them to dry thoroughly.

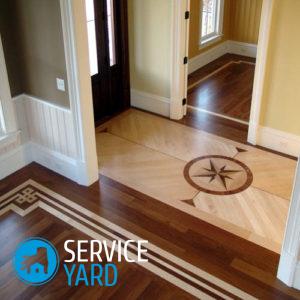
Parquet
Parquet is considered an elite type of flooring. It is durable and environmentally friendly. But, unfortunately, over time it loses its external attractiveness, shrivels, begins to creak. The cause of such defects can be not only time, but also improper care, mechanical damage, high humidity:
- If the parquet board is not swollen from the water, has not become loose and dark, it can be completely restored. A sander with fine emery sand treats the surface of the parquet. Next, with the help of a spatula and cosmetic putty for parquet, you need to repair all scratches, pits and chips.
Important! Restoration putty can be done by yourself. To do this, mix wood sawdust with epoxy varnish in a ratio of 1: 4.
- After the putty dries, these places need to be treated with fine sandpaper. For the same purpose, many use a wax repair kit for parquet. After repair, the parquet must be varnished.
Important! Sometimes parquet is looped. With a special machine, cycles, with a sharp knife, a thin layer of varnish and wood is removed from the parquet.
- If some parquet floors are loose, they need to be strengthened with nails driven in at an angle of 45 degrees.
- If a whole section moves on the floor, then several holes are drilled around its perimeter into which pegs from bamboo are driven in. They will swell in a few days, and fix this site. Excess bamboo is cut with a knife, and then it remains to putty and varnish the parquet.
- The creaking of the coating can be eliminated by replacing the wedges around the perimeter of the room. To do this, remove the skirting boards and remove the old wedges. In their place, put new ones at a distance of 50 cm from each other. Now you need to wait a few days. Every day you need to knock out wedges and check whether the parquet continues to creak. Only when you have achieved the desired result, return the baseboard in place.
Full repair of the floor in the apartment
If you started a major overhaul and decided to completely transform the floor, then know that this is a long, painstaking and time-consuming process. If you are not ready to do this yourself, invite experts. To have an idea of a complete replacement of the floor, then we will consider the repair of the floor in the apartment with our own hands in stages.
Algorithm for floor repair:
- A thorough repair of the floor in the apartment must begin with the dismantling of the old. First, remove the old skirting boards, then remove the old floor:
- Ceramic tiles are more convenient to remove using a hammer drill with a chisel.
- The most time-consuming can be the dismantling of the old parquet laid on bitumen mastic. A chisel, scraper and a building hair dryer will “help” you.
- The base of the floor may be concrete, and there may be logs. If the base is made of concrete, we clear it of loose areas and debris.
- Then stele waterproofing so that the liquid screed does not leak to the floor below.
- Then using the level we find the highest points of the floor, put the beacons. We will be guided by them, pouring a mixture of floor.
Important! You can use a sand-cement mixture that dries for a month, or a self-leveling mixture that dries much faster - one and a half to two weeks.
- If there are logs on the floor, carefully remove the old boards with a nail clipper and pincers. If the boards are in good condition, do not throw them away, they can come in handy for a new floor.
- Carefully inspect the logs, as well as props. Check them under load. They can be spoiled by fungus, moisture or microorganisms. We replace all damaged elements with new ones, those that are still suitable - we strengthen and process it with antifungal, antibacterial agents.
- We remove garbage and old thermal insulation.
- We check and close the joints between the plates.
- We insulate the space between the lags of mineral wool, hydro and sound insulation.
Important! Roll materials are overlapped.
- We lay boards or plywood tightly on each other on the logs. The joints should be in the middle of the lag. Fasten materials with screws on the lags.
Important! If you have chosen plywood, do not forget to cover the top with hot linseed oil.
After the wooden or cement rough floor is ready, you can begin to lay the decorative coating.
Floor decor
In our time, there is a lot to choose decorative flooring from - linoleum, laminate, parquet, wooden board, tile, carpet, cork and even 3D self-leveling floor with a unique volumetric pattern. Consider the features of the most popular materials:
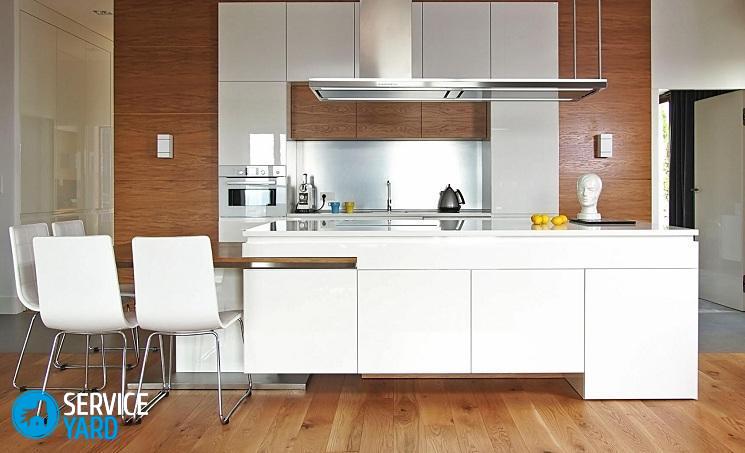
- Wood (parquet, board, solid wood) is environmentally friendly, fashionable, durable, but a wooden floor, especially solid wood or parquet, is quite an expensive pleasure.
- Linoleum is pleasant to the feet, easy to clean and an inexpensive type of floor covering. It has a wide variety of colors and textures. But not very durable.
- Laminate is an inexpensive type of coating, imitates wood, it is easy to mount. But he is afraid of high humidity and is also not very durable.
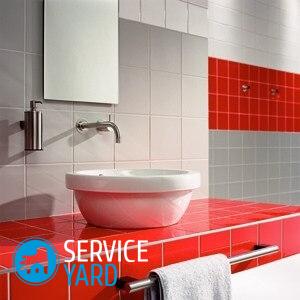
- Ceramics is a universal wear-resistant and moisture-resistant material for the floor, which has a huge number of shades and textures. You can choose the option for any wallet and taste. Its minus is that the floor is cold.
Important! This deficiency can be corrected using an electric or water heated floor.
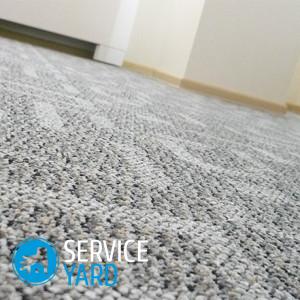
- Carpet - a warm, pleasant, soft and inexpensive coating. But it is more suitable for living rooms and bedrooms. In the remaining rooms it is impractical to lay it. It is difficult to remove stains from this surface.
Important! Such a floor covering requires frequent cleaning, otherwise - the carpet will quickly lose its attractiveness.
- 3D floors are the most modern and fashionable flooring. You can use the designer to create your own unique drawing on any subject, and the construction team will do everything in the best possible way. Such a floor is not afraid of moisture, has no joints into which trash is clogged, is very easy to clean. The floor looks glossy, but not slippery at all, the picture does not fade in the sun.
to contents ↑Important! Its disadvantages - it is ten times more expensive than other coatings, it is cold and you can not install an electric or water floor heating under it. It is also very difficult to dismantle - with subsequent repairs it is easier to lay another coating on top of the bulk floor.
Comparative cost of work
Doing the floor repair in the apartment with your own hands saves the budget, but sometimes the circumstances are that it needs to be entrusted to specialists. Consider the approximate cost of a particular floor replacement job, which you will need if you decide to entrust this to the construction team.
There are a lot of official repair companies, as well as unofficial ones. But do not be tempted by low prices, trust those who have long been working in this industry and have many positive reviews. Not every master will be able to mount bulk 3D floors, but everyone will cope with the other works listed above:
- The most expensive will be laying mosaics, about four times cheaper - laying tiles.
- Further, installation of a parquet board will cost a little cheaper. If you want to lay a parquet with a fir tree, then get ready to pay half as much.
- Screeding and leveling the floor will cost a little cheaper than the previous type of work.
- Board flooring and lag installation are approximately the same.
- Laying of linoleum and carpet is relatively inexpensive.
- The cheapest stage of work is the dismantling of the old floor and subfloor.
Important! It should be borne in mind that the cost of repairing the floor will directly depend on the area, since work and materials are calculated per square meter.
Keep in mind that all, even small types of work have their own prices, for example, dismantling the old skirting board, grinding and filling, grouting, sawing, priming, dust removal and so on.
to contents ↑Important! Before letting the masters into the house, ask them to make an accurate estimate of the work and sign the contract so that then there are no unpleasant surprises.
Stock footage
If you have the desire and ability to do the repair of the floor in the apartment with your own hands, then your financial costs will be significantly reduced. You just need to spend money on the necessary materials. Of course, in the absence of skills, you will not be able to lay such an ultramodern coating as a 3D floor, but you can completely cope with all the other works yourself. The information gathered from the article will help to understand this issue and determine the phased steps, the choice of the best option for flooring in your own home.
 (No ratings yet)