DIY extendable table
A small compact table is quite suitable for a small family. This applies to kitchen and dining tables. Everything is completely different when guests arrive. In this case, sliding tables help out. When folded, this design takes up little space, and when unfolded, it increases the number of seats by several times. Conveniently? Undoubtedly. Therefore, many home masters think about how to make a sliding table with their own hands.
to contents ↑The advantages of folding structures
An extensible table in the kitchen with your own hands or a compact design for other rooms have the following advantages:
- First of all, it is saving space. In particular, this is true if the apartment is small in size or the room has a non-standard configuration. A folding table helps save space in the children's room.
- Low cost of the product (with self-manufacturing).
- Universality. Folding structures of various types are appropriate not only in the kitchen or in the living room, but also in the hallway, bedroom or nursery. Beautiful and comfortable furniture will harmoniously fit into the interior in any case.
Design features
A folding table, like a regular one, includes the following elements:
- Countertop.
- Legs.
- Mounts
Useful Tips:
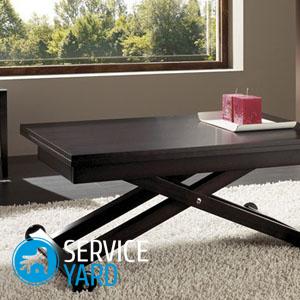
- The shape of the countertops can be round or rectangular. In the first case, when unfolding, it takes the form of an oval.
- The basic requirements for furniture are the durable material of the countertop, the reliability of fixing the legs, as well as practicality and convenience.
- The dimensions of the table are determined by the size of the room and the planned number of seats.
- The number of seats is planned on the basis that the optimal space for one person at the table is 0.6-0.7 m.
Material selection
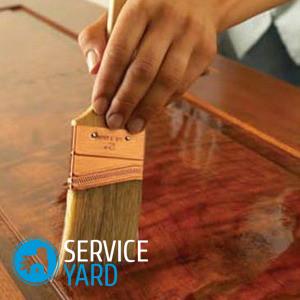
If you decide to make a table yourself, you need to consider the choice of materials. The aesthetic impression mainly comes from the countertops. It is also necessary that the material is practical. This is especially true of kitchens, because water, food debris or fat sometimes get on the table. Here are some material options.
Wood
Timber in terms of reliability is optimal, but it costs quite a lot. An inexperienced master is also quite difficult to work with her.
Important! It is best to work with walnut, pine or oak wood. Before you start working, dry the material well and treat it with a special moisture-proof compound.
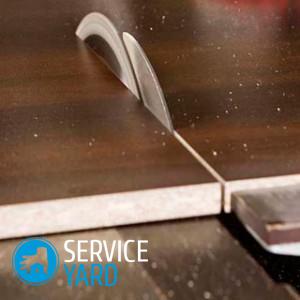
Chipboard
From a chipboard with a laminated coating with a thickness of 2 cm or more, a reliable, easy to manufacture worktop is obtained. The costs are minimal. The end parts of the plates are closed with a special border.
Important! If the table is made for the kitchen, an additional plastic cover is useful. The disadvantage of the material is that when water penetrates into the thickness of the chipboard, it swells. As for strength indicators, the chipboard is able to compete with natural wood.
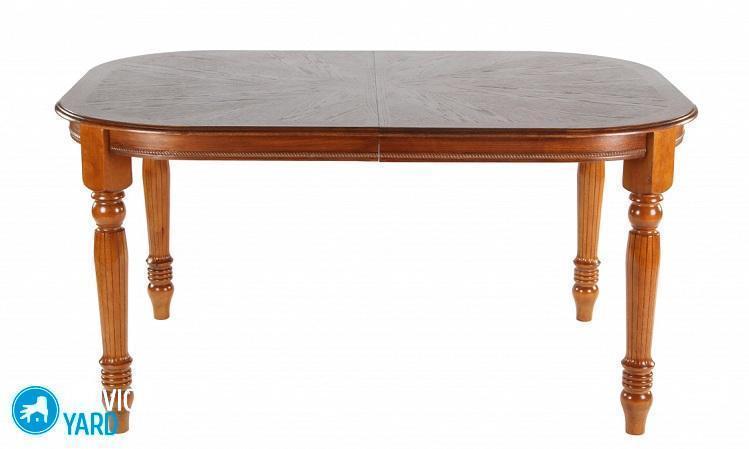
Legs can be bought ready-made or made independently from a wooden bar with a section of 850x850 mm. The cross section of the legs can be round or square. Carved legs look beautiful. Metal pipes with a diameter of 7 to 9 cm - aluminum or steel - are also suitable for these purposes.
to contents ↑Tool List
Before you make a sliding table with your own hands, you need to prepare the necessary minimum of equipment and tools:
- Bulgarian.
- Hacksaw.
- Jigsaw.
- Screwdriver or drill with reverse.
- Screwdriver.
- Chisel.
- Plane.
- Hammer.
- File.
- Sandpaper.
- For measurements and marking - a ruler, tape measure, pencil.
How to make a sliding table yourself? Simplest option
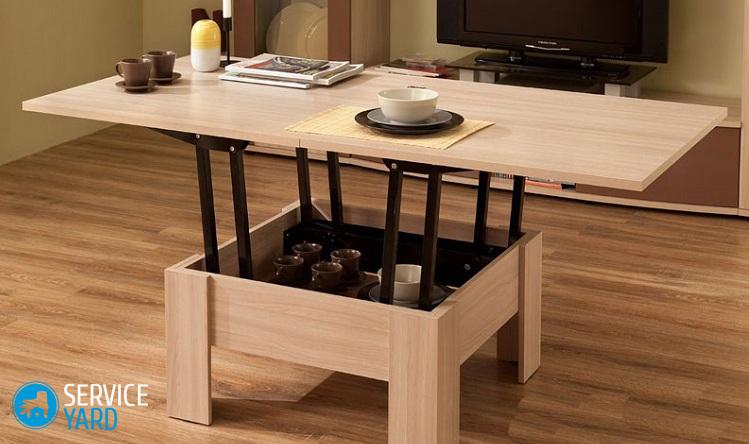
A classic do-it-yourself sliding table involves increasing the size of the countertop by expanding its surface and laying additional elements in the resulting void. The countertop itself consists of two parts, which, if necessary, can be shifted in opposite directions.
The main components of the sliding structure:
- The basis.
- Countertop (2 halves).
- Full roll out guides.
- Auxiliary panels.
Here are some things to keep in mind when preparing key parts:
- The base is a frame that connects the legs to each other with jumpers (collets) and the top panel. The latter looks like a countertop, but, unlike it, is fixed on the legs.
- Each half of the main countertop has 3 sidewalls fixed to the surface. For the manufacture of the sliding mechanism, standard full-roll guides are used, which are used for drawers. You need to purchase 2 sets of guides. Their length is from 300 mm.
- The width of the additional elements of the countertop is equal to the main surface. Their length depends on how the table will be moved apart. The number of additional elements varies at the request of the master from one to three.
- The principle of sliding the structure is simple: both halves of the main countertop move in opposite directions to the stop. In this case, the countertop slides on the surface of the base. Additional elements are installed in the space between the two parts, which together with the main parts create the appearance of a solid countertop.
How to make a foundation?
The base of the table serves to secure the legs and provide support to the countertop:
- Wooden legs are connected in a single design with jumpers.
- The material for making the drawer is plywood or a board 1.8–2.0 cm thick and 10–12 cm wide. The choice of their length depends on the size of the table in shifted form.
- The drawbars are fixed with special grooves up to 2 cm deep, made in the upper part of the legs.
- The connection points of the jumpers with legs are glued and additionally connected with screws.
- For heavy structures, “kerchiefs" made of wood are additionally used.
- A plywood sheet with a thickness of 1.0-1.2 cm is fixed on top of the frame. The size of the plywood surface depends on the dimensions of the frame. The sheet is fixed with screws.
Important! The use of a top plywood sheet is optional.
Main countertop
As already mentioned, it consists of 2 parts, cut to size. If necessary, produce additional surface lining and sealing of the end parts. In the place of combining the two halves from the ends, holes are drilled in 8-10 mm for dowels.
How to assemble a sliding table - procedure:
- A U-shaped box is made of sidewalls. These can be suitably cut sheets of chipboard or a board.
- From the inside corners, the box is fixed with aluminum corners.
- On the inner sides of the sidewalls of the box, the reverse parts of the guides are fixed so that the box moves about 0.2 cm above the plywood base (if the plywood sheet was not used, then above the surface of the drawer).
- A tabletop is installed on top of the box so that the cut coincides with the ends of the box.
- Both parts are interconnected using aluminum corners.
- In the central part on the surface of the plywood base or the upper end of the tsar, an aluminum corner is installed (vertical side from 4 cm, length from 50 cm).
- At the corner, wide (they are the main) parts of the guides are fixed at the rate of 2 pcs per side.Both parts of the guides are docked and latched - wide and narrow.
How to build a countertop?
Both parts of the main worktop are pushed as far as possible. Now it remains to take measurements and determine the dimensions of the additional elements:
- The material is cut to size, the same finish is made as that of the sliding halves.
- In the end part of the sliding elements, holes are drilled for dowels with a diameter of 0.8-1.0 cm.
- Dowels for fixing parts of the countertop are fixed with glue on wood.
Stock footage
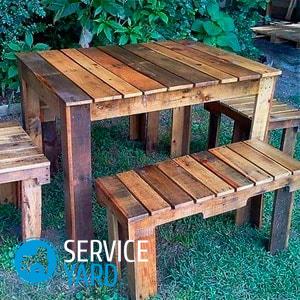
A table with a sliding worktop is a convenient and practical element of the interior, which makes it possible to solve the problem of lack of free space. A do-it-yourself rectangular or round sliding table can save money.
 (No ratings yet)