Do-it-yourself fireplace stove - order

Independently making a stove or a fireplace in a house is a tempting matter. But novice masters are usually afraid of the complexity and responsibility of such a task. One small inaccuracy, and the house is filled not so much with heat as with smoke and carbon monoxide. How to build a fireplace stove with your own hands? The ordering, that is, the scheme in which order to do what, is the most important moment, but the success of the enterprise depends not only on this. How to feel like a real stove-maker and at the same time avoid troubles will be discussed in our article.
to contents ↑Which oven do you want?
There are many options for stoves. Almost every nation has its own way of providing the house with heat, and at the same time a place for cooking. If you are thinking how to fold a fireplace stove with a stove with your own hands - the order will be one, if without a hob - another.
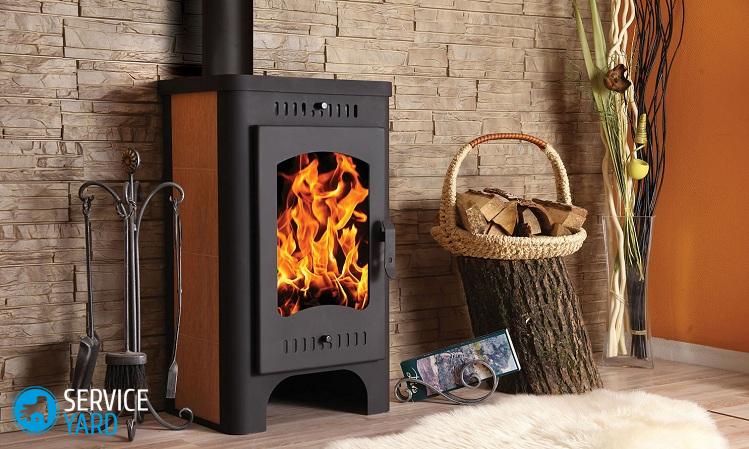
In modern country houses, there are the following options for fireplace stoves:
- full-size heating and cooking;
- miniature with stove and oven;
- universal with a fireplace and firebox;
- simplified masonry oven;
- triangular with an open fireplace;
- with a bread maker;
- large heating fireplace without hob.
to contents ↑Important! There are other models, they differ in size, appearance and feature set. But everyone has one thing in common - they weigh a lot, about two tons, so a separate foundation is needed for any furnace.
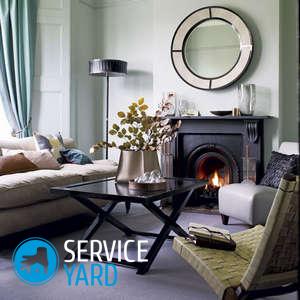
Before proceeding with the technical calculations and the purchase of materials necessary for the work, be sure to carefully consider the design of the room where you plan to put such an oven. Some ideas from our articles will help you with this:
Foundation requirements
The furnace cannot sag, so the foundation must be made strong. Regardless of which model you choose, the foundation should have:
- a depth of at least one and a half meters;
- 2 waterproofing layers.
Swedish fireplace stove
This is one of the simplest options, especially popular in Scandinavia. Despite the elementary device, such a stove gives a lot of heat, it is easy to cook on it, in addition, it consumes little firewood.
Important! By the same principle, it will be possible to add any other furnace, making individual calculations for it. The foundation of the "Swedes" is a monolithic concrete block.
Preparing the foundation
What is needed in order to build an oven yourself? Everyone knows that bricks are needed. But not only, and not every brick is suitable. But you need to start from the base, so first we’ll go to a hardware store or a construction mix factory to search:
- cement M-400;
- sand;
- crushed stone.
Important! It is possible to prepare concrete of grade B 15, aka M 200, from these components. Of course, if there is a concrete plant nearby, it makes sense to order much needed material there - it’s not so expensive, but they will deliver everything directly to the site.
If necessary, nothing prevents you from making a concrete mixture yourself. You will need:
- 1 part of cement;
- 4 parts of crushed stone or gravel with a fraction of not more than 3 cm;
- 2 parts of sand.
Important! The sand should be clean. It usually includes impurities such as clay, mica, and dust. Their number should not exceed 10%. Therefore, sand from the nearest quarry is not suitable, it may be too dirty.
To calculate the amount of each material, determine the volume of the foundation.For 1 cubic meter of finished concrete it is required:
- 325 kg of cement;
- 650 kg of sand;
- 1300 kg of crushed stone;
- 205 liters of water.

Concrete Tools
It is unlikely that you have a concrete mixer at home, so everything will have to be done manually. This will require some tools:
- shovel;
- trowel;
- probe;
- tamper;
- ironing board;
- grout;
- one and a half;
- corner;
- iron ore.
Foundation laying
The entire installation process can be divided into three stages:
- laying the mixture;
- tamper;
- smoothing.
Depth
The depth of the pit under the foundation for the fireplace stove with your own hands entirely depends on several factors:
- soil structure;
- freezing depths;
- the need to heat the house in winter.
Different soils
There are soils that, under the influence of large loads, sag and change their structure. Clay swells, soil with a large amount of water in winter increases in volume - in a word, you need to know exactly what your house is worth and what kind of load the land on your site can withstand:
- If you have dusty sand, clay, sandy loam or loam with a groundwater table above the freezing depth, and the house will not be heated in winter, the base of the foundation should be below the freezing depth.
- If the house will be heated year round, it is necessary that the sole is at a depth of 50 cm from the planning mark.
- For weak loose soils, formwork is needed. For it, you will need boards 2 cm thick with a moisture content of not more than 25%.
- If the soil is dense, the pit digs strictly in size, formwork will not be needed.
Important! How to determine how deep the soil freezes? There is no other way than long-term observations.
Pour concrete
Regardless of the depth of the pit and the presence of formwork, the foundation is done as follows:
- Lay a pillow made of sand and gravel or gravel at the bottom - its thickness is 15-20 cm.
- Tamp her.
- Lay and tamp the concrete mixture.
- Be sure to remove the bubbles, otherwise - the foundation will be less durable than required.
- Cover the foundation with damp sawdust, sand, tarpaulin or burlap to prevent it from drying out instantly.
- Maintain a constant humidity for one to two weeks - this is especially important if the summer is hot.
- Wait until the concrete has gained at least half the strength - this with proper care will happen in a week and a half or two (if the weather is hot, it will take about a week). After this, the formwork can be removed.
- On the surface of the hardened concrete, lay 2 layers of roofing felt - the sheets should be 10 cm from each edge larger than the foundation surface.
to contents ↑Important! Sand or burlap should be moist, not wet - too much water reduces the strength of concrete.
Materials for the furnace
After the foundation has frozen and the waterproofing has been laid, you can proceed with the construction of the furnace. As in any business, you need to immediately prepare materials and tools. You need:
- ordinary brick (GOST 390-96) - 505 pcs.;
- refractory brick (GOST 530-2013) - 25 pcs.;
Important! A few more need to be added to the estimated quantity just in case. And there are brands of bricks that should immediately be discarded. Do not use silicate or hollow bricks for fireplaces. Materials must be of high quality - if the firing was insufficient, the furnace will be less durable than necessary. And there should be no cracks.
For masonry, you still need a solution. If you buy ready-made, choose a fire-resistant, designed just for the construction of furnaces. In any reputable construction store you will find several types of such compounds, but if you wish, you can make it yourself.
Clay-sand mortar
For it you will need, as the name implies, clay and sand. But the clay is different, respectively - the ratio of components will be different.
Option 1
If the clay is oily, with no more than 4% sand, a mixture of 1 part clay and 2.5 parts sand is made.
Option 2
Clay with a sand content of up to 15% is considered average.In this case, to compose a mixture of sand, one and a half times more than clay is taken.
Option 3
Skinny clay with a large (up to 30%) sand content can also serve as the basis for the solution. But in this case, sand should be taken almost as much as clay - only 10% more.
Solution preparation
Preparation of the solution takes a lot of time. The procedure will be as follows:
- Soak the clay for a day.
- Divide the total amount of sand into several approximately equal parts.
- Fill the first part and mix well to get a homogeneous mass.
- Add a little water and mix again.
- Gradually add the rest of the sand and a portion of water, mixing well each time.
- Just before work, add a little more water - the solution should be sufficiently thick and uniform.
Important! Check the solution by taking on a shovel - it should slide, and not spread.
What else you need?
The basis of the furnace is brick. However, the fireplace does not consist of walls alone. You also need stove appliances:
- the door blew;
- fire door;
- cleaning doors - 5;
- gate valve;
- oven;
- plate;
- grate;
- a metal sheet.
The blower door needs one, its dimensions are 14x14 cm. The furnace door is also one, 21x25 cm in size. The gate valve is 12x21 cm in size. An oven is suitable for the Swedish stove (it can be made of sheet steel if there is access to the welding machine and covered with a fireproof enamel) with dimensions 30x36.5x45 cm and a plate 41x71 cm. The last device is a metal sheet 75x50 cm.
Instruments
For laying a fireplace stove with your own hands, regardless of order, you need:
- trowels of different sizes;
- level;
- plumb line;
- mallet;
- gon.
- flashing;
Fuel tank and chimney
These are the main parts of any furnace: one - used to burn fuel, the other - to accumulate heat and transfer it to the room. The grate is placed in the hearth of the firebox - it is needed so that air enters and normal traction is provided.
Before you start laying the stove, you need to provide a roof over your head - or at least over the place where your stove will stand. In addition, it is very useful to choose bricks for each row. And you definitely need to deal with the foundation:
- Carefully check its dimensions.
- Determine how your stove will be oriented.
- Determine where the pipe passes through the ceiling.
Ordering
Before work, prepare the bricks:
- Hold the ordinary in water for a couple of minutes.
- Fireproof - Rinse with clean, cool water.
Each row has its own characteristics. Here is what the order will look like if you decide to make a fireplace stove yourself:
- The first and second - lay with dressing the seams on half the brick, the seam should be less than 5 mm, do not forget to check the horizontal level.
- Lay out the ash chamber - this is the third and fourth rows.
- Insert three cleaning doors, the gap should be no more than 5 mm, but better than 3 mm.
- Fill the gaps with asbestos cord.
- Check how correctly the top of each door is located - it should be strictly at the level of the horizontal seam.
- When moving to each next row, do not forget to control the plumb vertical.
- Lay the fifth row with refractory bricks with a joint thickness of not more than 3 mm.
- Place the grate, providing a clearance of 3 mm, directing it along the firebox.
- Fill the gap with sand (ash can also be used).
- Install the oven.
- At the back of the fireplace, begin to form a chimney.
- The next 4 rows (6, 7, 8 and 9) are the combustion chamber, the combustion door is placed along the masonry, the gap should not exceed 5 mm. This gap is also filled with asbestos cord.
- Screw the wire to the door.
- Close the wire into the masonry.
- You have already almost overlaid the oven - it remains to make only the overlap, that is, the tenth row.
- The partition between the furnace and the oven is 2 cm higher than the roof of the oven, the masonry must be leveled, that is, apply a layer of a solution of the appropriate thickness on the oven.
- On the front side of the furnace, lay a corner of 1000x40x40 mm.
Important! Lay the bricks separating the oven and the firebox on the edge.

Mid body
A hob is placed on top of the solution - this will be the eleventh row. Next, you will need to form a chimney, for which the ordering of the fireplace stove with your own hands continues in this way:
- Lay the next three rows (from 12 to 16) along the contour of the cooking chamber and chimney channels.
- Cover the cooking chamber from above with a metal sheet, lay the brick of rows 17 and 18 on the corners.
- Screw the wire to the corners, seal it into the masonry.
- Lay the 19 and 20 rows along the contour, but do not forget to put the two remaining cleaning doors.
- Brick in the 21, 22, 23, 24, 27 and 28 rows is laid along the contours of the chimneys, vertical and horizontal seams are carefully controlled. In addition, in 27, when laying the 27th row, a valve is set, the gap, as in all other cases, is filled with asbestos cord.
Expansion
A cornice is made in the upper part. Here you need to be especially careful:
- In the 29th row, the masonry expands by 5 cm, the channels are closed, the pipe remains.
- In the next, that is, row 30, the masonry again expands to the same size, and in row 31 it narrows to row 28.
Trumpet
The pipe at such a stove is laid out in 5 bricks. Continue to lay it out, periodically checking the position of the joints, until there is room for three rows of bricks to the ceiling. After that, it will be necessary to lay out the fluff so that the wooden parts of the house do not catch fire from the hot gases coming from the pipe. Increase the thickness of the pipe to one and a half bricks.
Important! The outer part of the pipe is not laid on clay, but on a cement-sand mortar.
The same should be done in places where the pipe will touch the wooden parts of the roof. The final stage is the installation of a metal cap on the pipe.
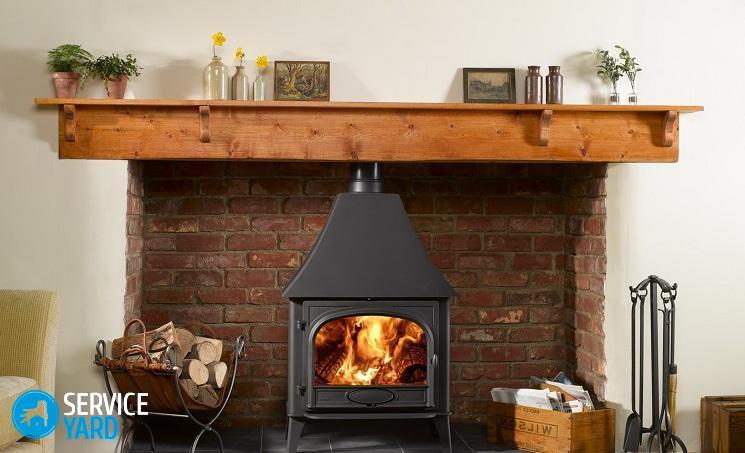
to contents ↑Important! Finishing the creation of such a complex structure, think about how you will design it, because the final design of the room will depend on this. There are many options, and a review of ideas from our article will help you choose a more convenient and suitable for the interior concept of your home. DIY fireplace decor.
Stock footage
Thus, it is quite possible to fold a fireplace stove with your own hands. The process is, however, not fast and requires accuracy, but the result can bring considerable satisfaction.
 (No ratings yet)