Hopper bucket
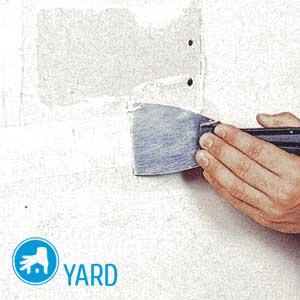
Plastering large surfaces is not an easy task. To get an even beautiful layer, you have to work quickly, and people who first started repairing an apartment sometimes puzzle how to make the solution with the magic wand appear on the wall in the right amount, and it would only remain to smooth out. Professionals have long come up with everything. The hopper bucket will help you out - a special device that can greatly facilitate the life of someone who has decided to put their walls in order. Read about what it is and how to work with it in the article.
to contents ↑Purchased or homemade hopper?
The leaders of construction companies are not particularly puzzled by this issue. Manufacturers of construction equipment have already done everything for a long time - in the wholesale and retail stores you can buy a variety of buckets. To the same one who wants to repair only his apartment and is not going to open an enterprise, it makes sense to think which option would suit him more. Factory equipment can be very powerful and efficient, but it’s worth it.

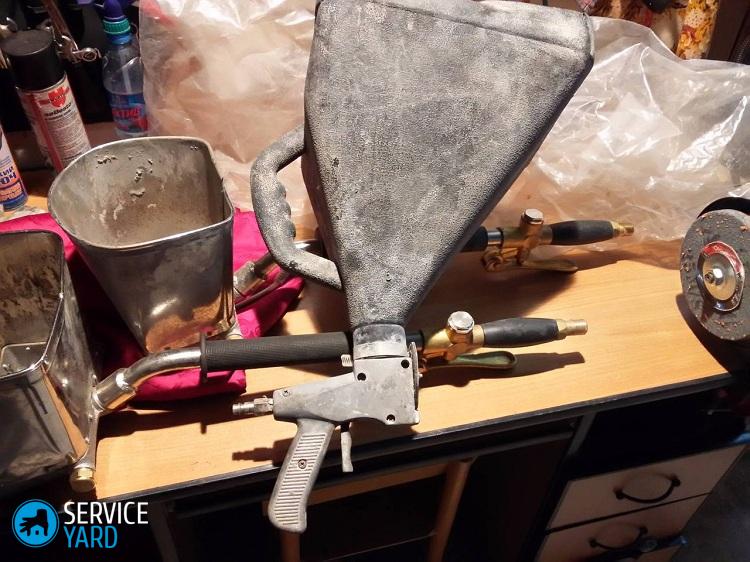
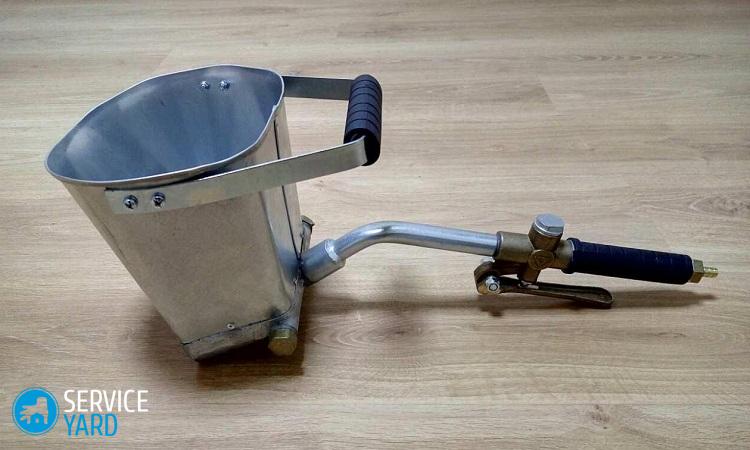
Regardless of whether you decide to buy a hopper plaster bucket or want to do it yourself, you need to know how this thing works. At its core, a hopper bucket is a plaster shovel, only with pneumatics. It acts like this:
- The compressor turns on.
- The hose connects to the gun.
- Plaster mortar is collected in the hopper tank.
- The pneumatic valve opens.
- Thanks to the compressor, air under pressure passes through the inlet fitting to the working part, that is, to the hopper with plaster.
- Then the air flies out through the nozzle, and with it the solution.
- Stucco is where it should be, that is, on the wall, and the layer is even.
Important! When planning to start the repair, consider all the nuances of the work so that there are no unforeseen delays and difficulties during the implementation of the project. Bookmark our article with effective ways, how to remove old plaster.
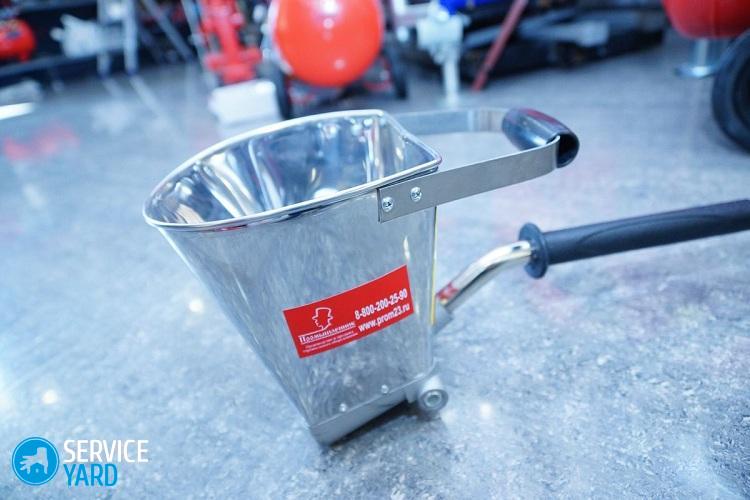
Why is the device shaped like a bucket? Everything is very simple, because the whole solution is not loaded immediately into the hopper, it must be taken from a common container - for example, from a tray. It is most convenient to do this with a bucket.
Thanks to the special design, the plaster bucket makes it possible to apply the mortar not only on the walls, but also, for example, on the ceiling. To plaster inclined planes with a hopper, regardless of the angle, is also not a problem. In a word, there is no price for this unit.
to contents ↑Important! The top of the hopper bucket on the compressor side must be closed so that the plaster does not fly where it is not necessary, even if the shovel is tilted.
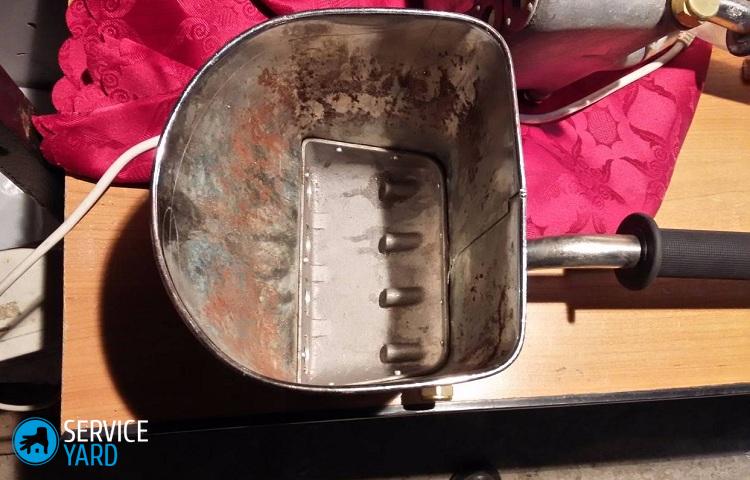
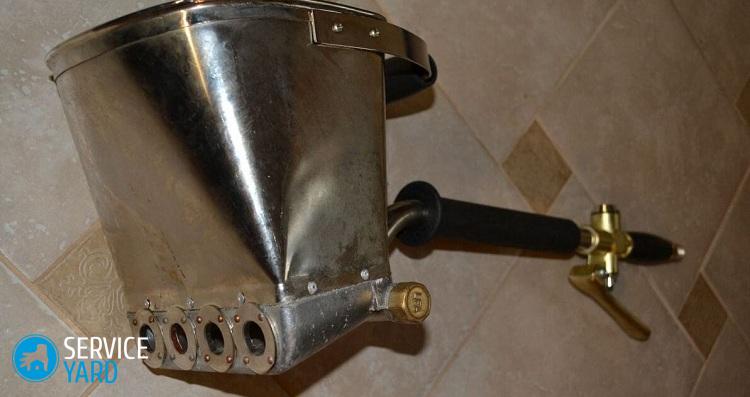
Hopper Bucket Design Features
The sale is full of such devices, so that my eyes run up. You, of course, pay attention to the power and convenience of the hopper. Design in this story is the last thing, but there are several characteristics that you must look at. They should also be considered if you are doing a hopper bucket with your own hands.
- The bucket inlet should not exceed 5 mm.
- In the lower part of the shovel, the front and rear walls are at most 25 mm apart.
- The diameter of the outlet nozzle should not be more than 15 mm and less than 10 mm.
Important! If the bucket meets these parameters, the compressor may not be particularly powerful, which will give you the opportunity to significantly save on electricity. It will be sufficient for the unit, which gives a pressure of 8 atmospheres and provides an air flow of not more than 250 liters per minute.
But if the nozzle of the hopper bucket is farther from the inlet, more air will be needed, respectively - the necessary power will have to be increased, otherwise the mixture will not fly out, but rather leak out. If you do everything according to the rules, a bucket weighing 9.5 kg will be released in about 5 seconds, or even faster.
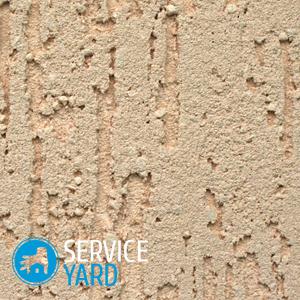
Important! Stucco is a unique material. With it, you can give surfaces a completely different appearance. If you have not yet decided on the design option, check out our articles with an overview of different stylistic ideas and plaster technologies:

Benefits of Hopper Buckets
If it is possible to make a hopper bucket for plastering without any special material costs, the advantages will be appreciated by anyone who has had time to deal with stucco disorders. A plaster bucket with a compressor may seem interesting not only because it makes it possible to quickly process almost the walls in the apartment. The device itself:
- reliable because all parts can be replaced;
- able to serve as much as you need;
- even a teenager can cope with the repair - one not particularly physically strong person is able to cover 50 square meters in an hour. m surface with a layer of plaster of 2 cm;
- the principle is quite simple, so special skills are not needed;
- such a thing can also be used for concreting, which reduces the time by an average of three times, not to mention the fact that labor costs are reduced by an order of magnitude;
- less solution is consumed, and the surface quality is much better;
- the solution sticks to walls much better than with manual installation;
- any additives, including fibrous, can be used.
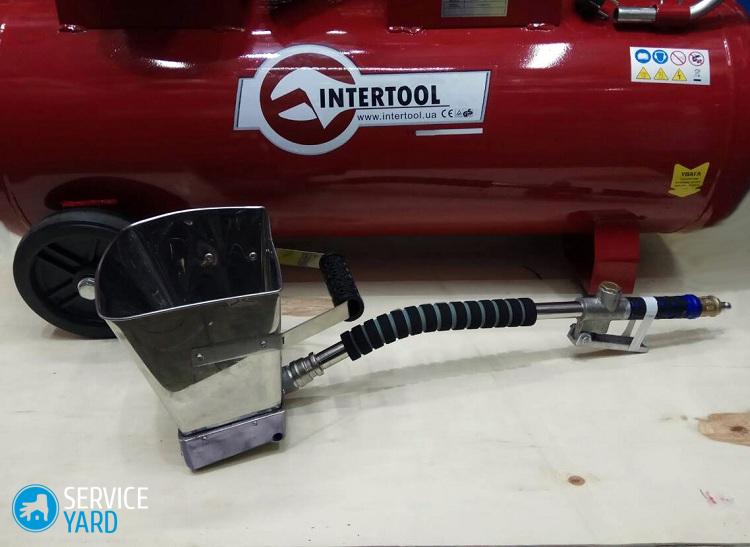
The only drawback of the hopper bucket
Even such a wonderful unit has one drawback. Necessarily need a compressor. This is not always convenient, but also reduces mobility. But this disadvantage is more than compensated by numerous pluses. And if you make a do-it-yourself hopper bucket, a compressor is its most expensive part.
What mixes can be?
In fact, the hopper bucket is a universal unit. Therefore, you can work with a variety of compositions:
- with ordinary paints;
- with textured paints, including very fluid;
- with cement-sand compounds;
- with liquid wallpaper;
- with gypsum solutions;
- with concrete.
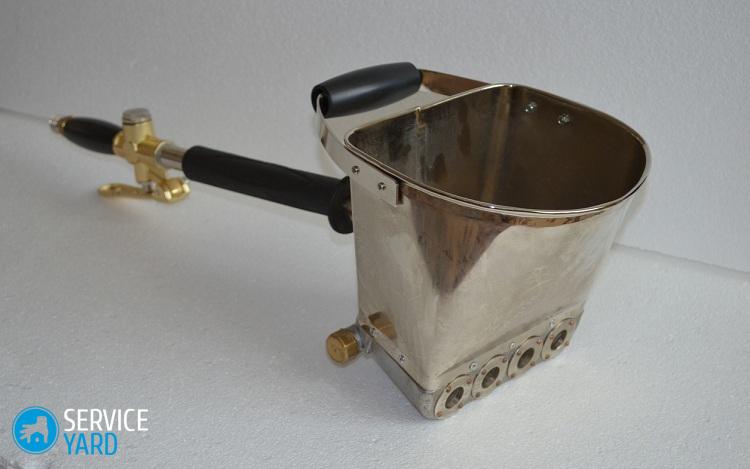
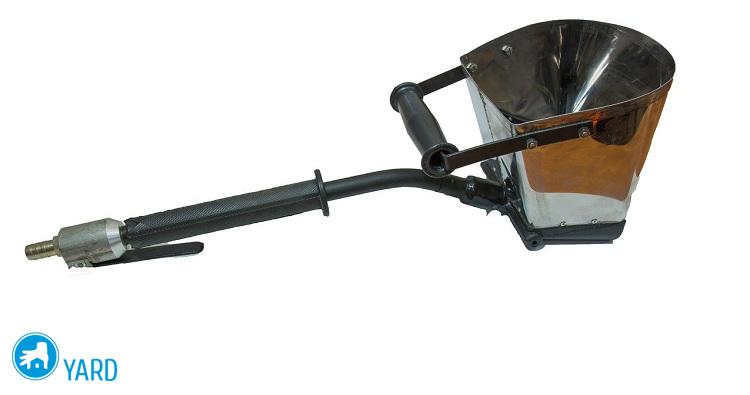
Hopper Bucket Mods
Each stucco hopper has its own characteristics, determined by the tasks for which you buy or make it. There are hopper buckets for different surfaces:
- vertical;
- back-horizontal and inclined.
The modifications are very similar, but there are differences in the design of the lower part. If you are going to plaster the walls, the nozzle should be exactly opposite the duct opening, positioned at the right angle to the surface of the mortar. For buckets used to plaster the ceilings, the outlet is positioned at a suitable angle. In addition, such models always have a cover for the opening, and it is placed on the side where the worker is, so that the mixture does not pour out.
We start plastering work
So, you have chosen a plaster bucket with a compressor, and now you are thinking how to use it to repair the wall. Nothing complicated:
- Prepare the surface - the old finish must, of course, be removed, the plaster as possible, too (in any case, you should discard areas that themselves fall off).
- Close the cracks, as for manual work.
- Apply primer or reinforcing mesh if necessary. If you do not apply the actual plaster, but liquid wallpaper, then be sure to complete the priming step.And recommendations from our article will help you choose a quality solution. “A good primer for liquid wallpaper”.
- Remove dust.
- Install beacons, check their position by level and plumb.
- Moisten the wall.
- Prepare a solution - you need a lot at once, because it is sprayed very quickly.
Important! Mixtures must be prepared in full accordance with the technology.
Apply the solution with a hopper bucket
To cover the walls with plaster, you must start immediately, as the mortar and surface are ready. This is especially important if you use a gypsum-based mixture - it hardens very quickly:
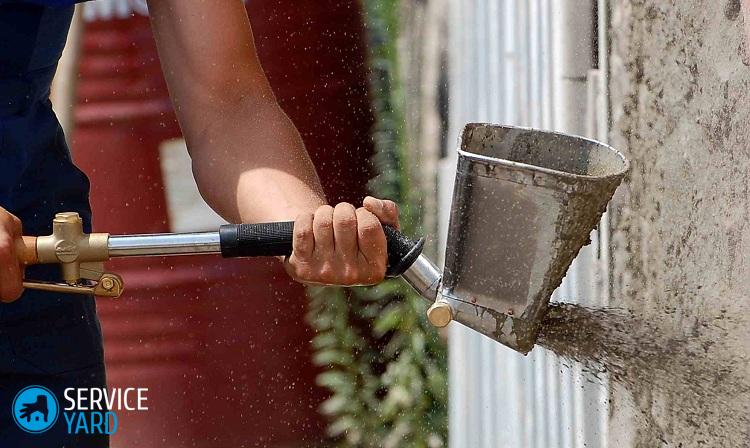
- Take the hopper with the right hand by the handle of the gun, and the left - by the handle of the hopper (if you are left-handed, then, naturally, the position of the hands will be mirrored).
- Scoop up the solution the same way you do it with an ordinary scoop.
- Shake the excess back onto the tray.
- Bring the gun to the wall.
- Press the spray button.
- Start spraying from above if it is a wall or a sloping surface, and the ceiling can be covered from any angle.
- Move the hopper smoothly from the lighthouse to the lighthouse.
- Swipe the lighthouses straight and remove any excess mixture.
Important! It is better to use hard mixtures that lie more evenly and do not decrease in volume as they dry. If the mixture is liquid, it will have to be laid in several layers.
Hopper works on
Further, the process moves in the same way as with the manual distribution of plaster:
- Wait for the wall to dry.
- Rub the plaster.
- Feel free to proceed to the next work.
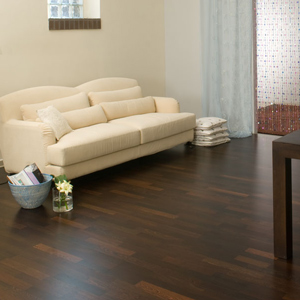
Important! When the work is finished, the bucket must be thoroughly washed - for this it is enough to place it in a container with water, and blow the nozzles with the same compressor when the shovel is in the water. Also, for sure you will have to clean up the room. Find out more quickly to complete this task. how to quickly clean the floor after repair.
Some subtleties:
- If the wall is well aligned and the layer is not very thick, there is enough pressure in 4 atmospheres, but you need to turn it on at a pressure of 5-6 atmospheres.
- The best distance from the gun to the wall is 6-10 cm, but if you need a thick layer, then it is better to bring the unit almost close to a distance of no more than 3 cm from the plane.
- For plastering inaccessible places, use special nozzles - you will find them in any decent hardware store.
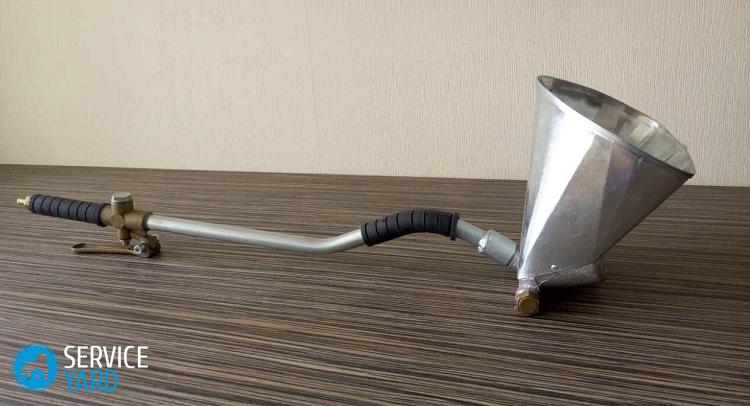
DIY plaster hopper
Prices in a hardware store seem excessive to you, but do you have a compressor? Then the best option is to make a hopper bucket with your own hands. The hopper will work no worse than the factory one, and besides, there is always the opportunity to make it convenient for you.
The design is quite simple. You need to decide:
- how much bunker is right for you;
- what you will be plastering - a wall or ceiling, the design of the unit depends on this.
The question immediately arises: where to get the drawings? In the specialized literature there are quite a lot of them, and if you dig on the Internet, you will certainly find some interesting options. It is best to choose what has already been assembled and even tested - such constructions already take into account errors that there is no point in repeating.
You need:
- sheet steel, tin or aluminum with a thickness of 0.4-1 mm;
- air gun (replaced by a steel tube with a cross section of 8 mm);
- nozzle (bought at a plumbing store or ordered at a turning workshop);
- washers with a diameter of 10-12 mm - nozzles are fixed with them;
- Bulgarian;
- drill and drill;
- scissors for metal;
- tracing paper;
- metal ruler;
- marker.
Important! If there is a welding machine and you know how to use it - fine, then you won’t have to think, weld or rivet the hopper. The weld, of course, is better, but not accessible to everyone.

Putting a hopper bucket
A very useful thing in this situation is tracing paper. We transfer the drawing details to it:
- Put tracing paper on the metal.
- We go through the contours with something sharp - best of all with a scriber, but you can also use a knife.
- We cut out the pattern - it is better to use scissors for metal, rather than a hacksaw.
- We bend the workpiece as it should according to the drawing.
- We weld or rivet the front and back walls.
- We fix the upper handle.
- We drill holes in the lower part of the hopper, depending on the purpose of the unit.
- On both sides we strengthen all holes with washers.
- Opposite the spray gun, drill a hole for the spray gun.
- We put a nozzle inside the hopper.
- We reinforce the handle and side walls with plates.
- We connect our masterpiece to the compressor.
- We carry out tests, changing modes.
to contents ↑Important! For welding, the metal is cut strictly along the contours, for riveting - an allowance of 10 mm or even more is made.
Stock footage
In short, this simple and effective device will make repairs not particularly difficult - at least physically. Having assembled the hopper with your own hands, you can make it convenient for yourself - for example, getting a factory-assembled bucket for left-handed people is quite difficult, although sometimes they are found. But, if you assemble it yourself, you won’t have to think whether it’s convenient for them to work or not.
 (No ratings yet)